Repair of Torn Canvas Using Single Thread Bonding
Haze Hiroshi (Painting Conservator) Representative, Haze Painting Studio
In 2024, a workshop on canvas painting restoration for conservators from the Asia-Pacific region was held at the Art Gallery of New South Wales in Sydney as part of the Getty Conservation Institute’s Conserving Canvas Initiative. When the National Center for Art Research distributed the initiative’s open call for applications in Japan, Haze Hiroshi of Haze Painting Studio applied and was selected as one of the 30 participants.
In addition to the five-day, on-site workshop in Sydney, there were online lectures before and follow-up sessions afterward, making it a comprehensive educational experience covering both theory and practice. All participants received a full set of tools and equipment used for single thread bonding, a minimally invasive art restoration technique. With this, they were able to return to their respective countries and apply the techniques learned in Sydney to artworks while receiving online guidance. We received a report from Mr. Haze on a case in which he used the technique to restore an oil painting in the collection of the National Museum of Modern Art, Tokyo.
Toriumi Hidemi
National Center for Art Research
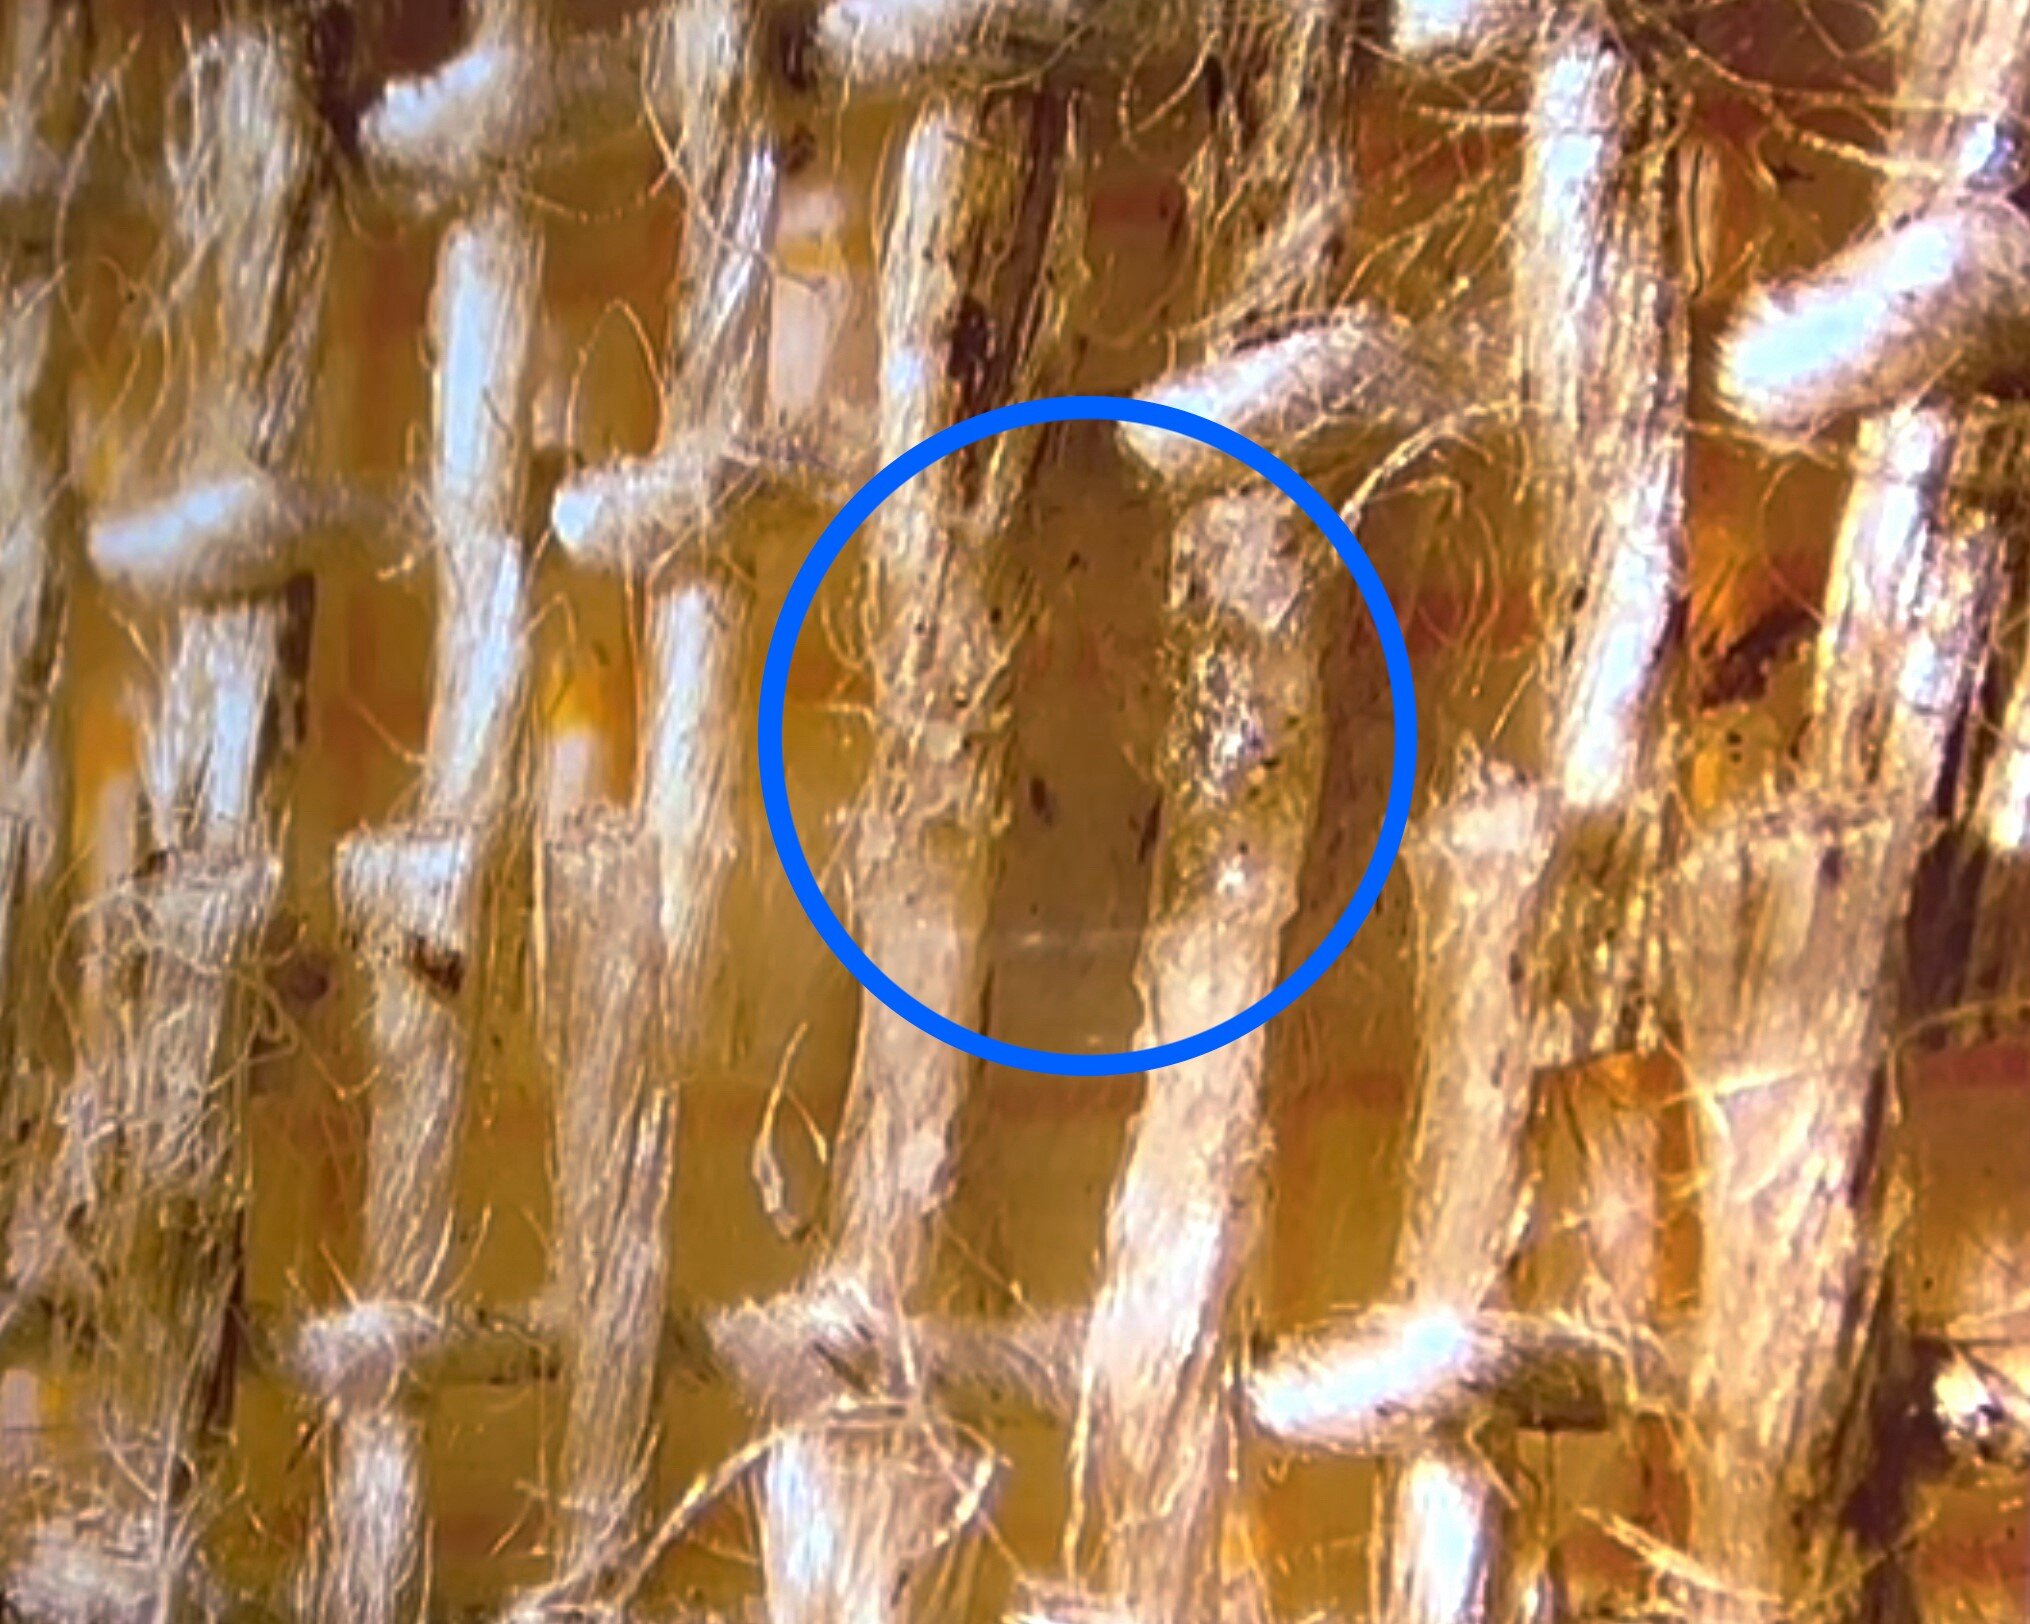
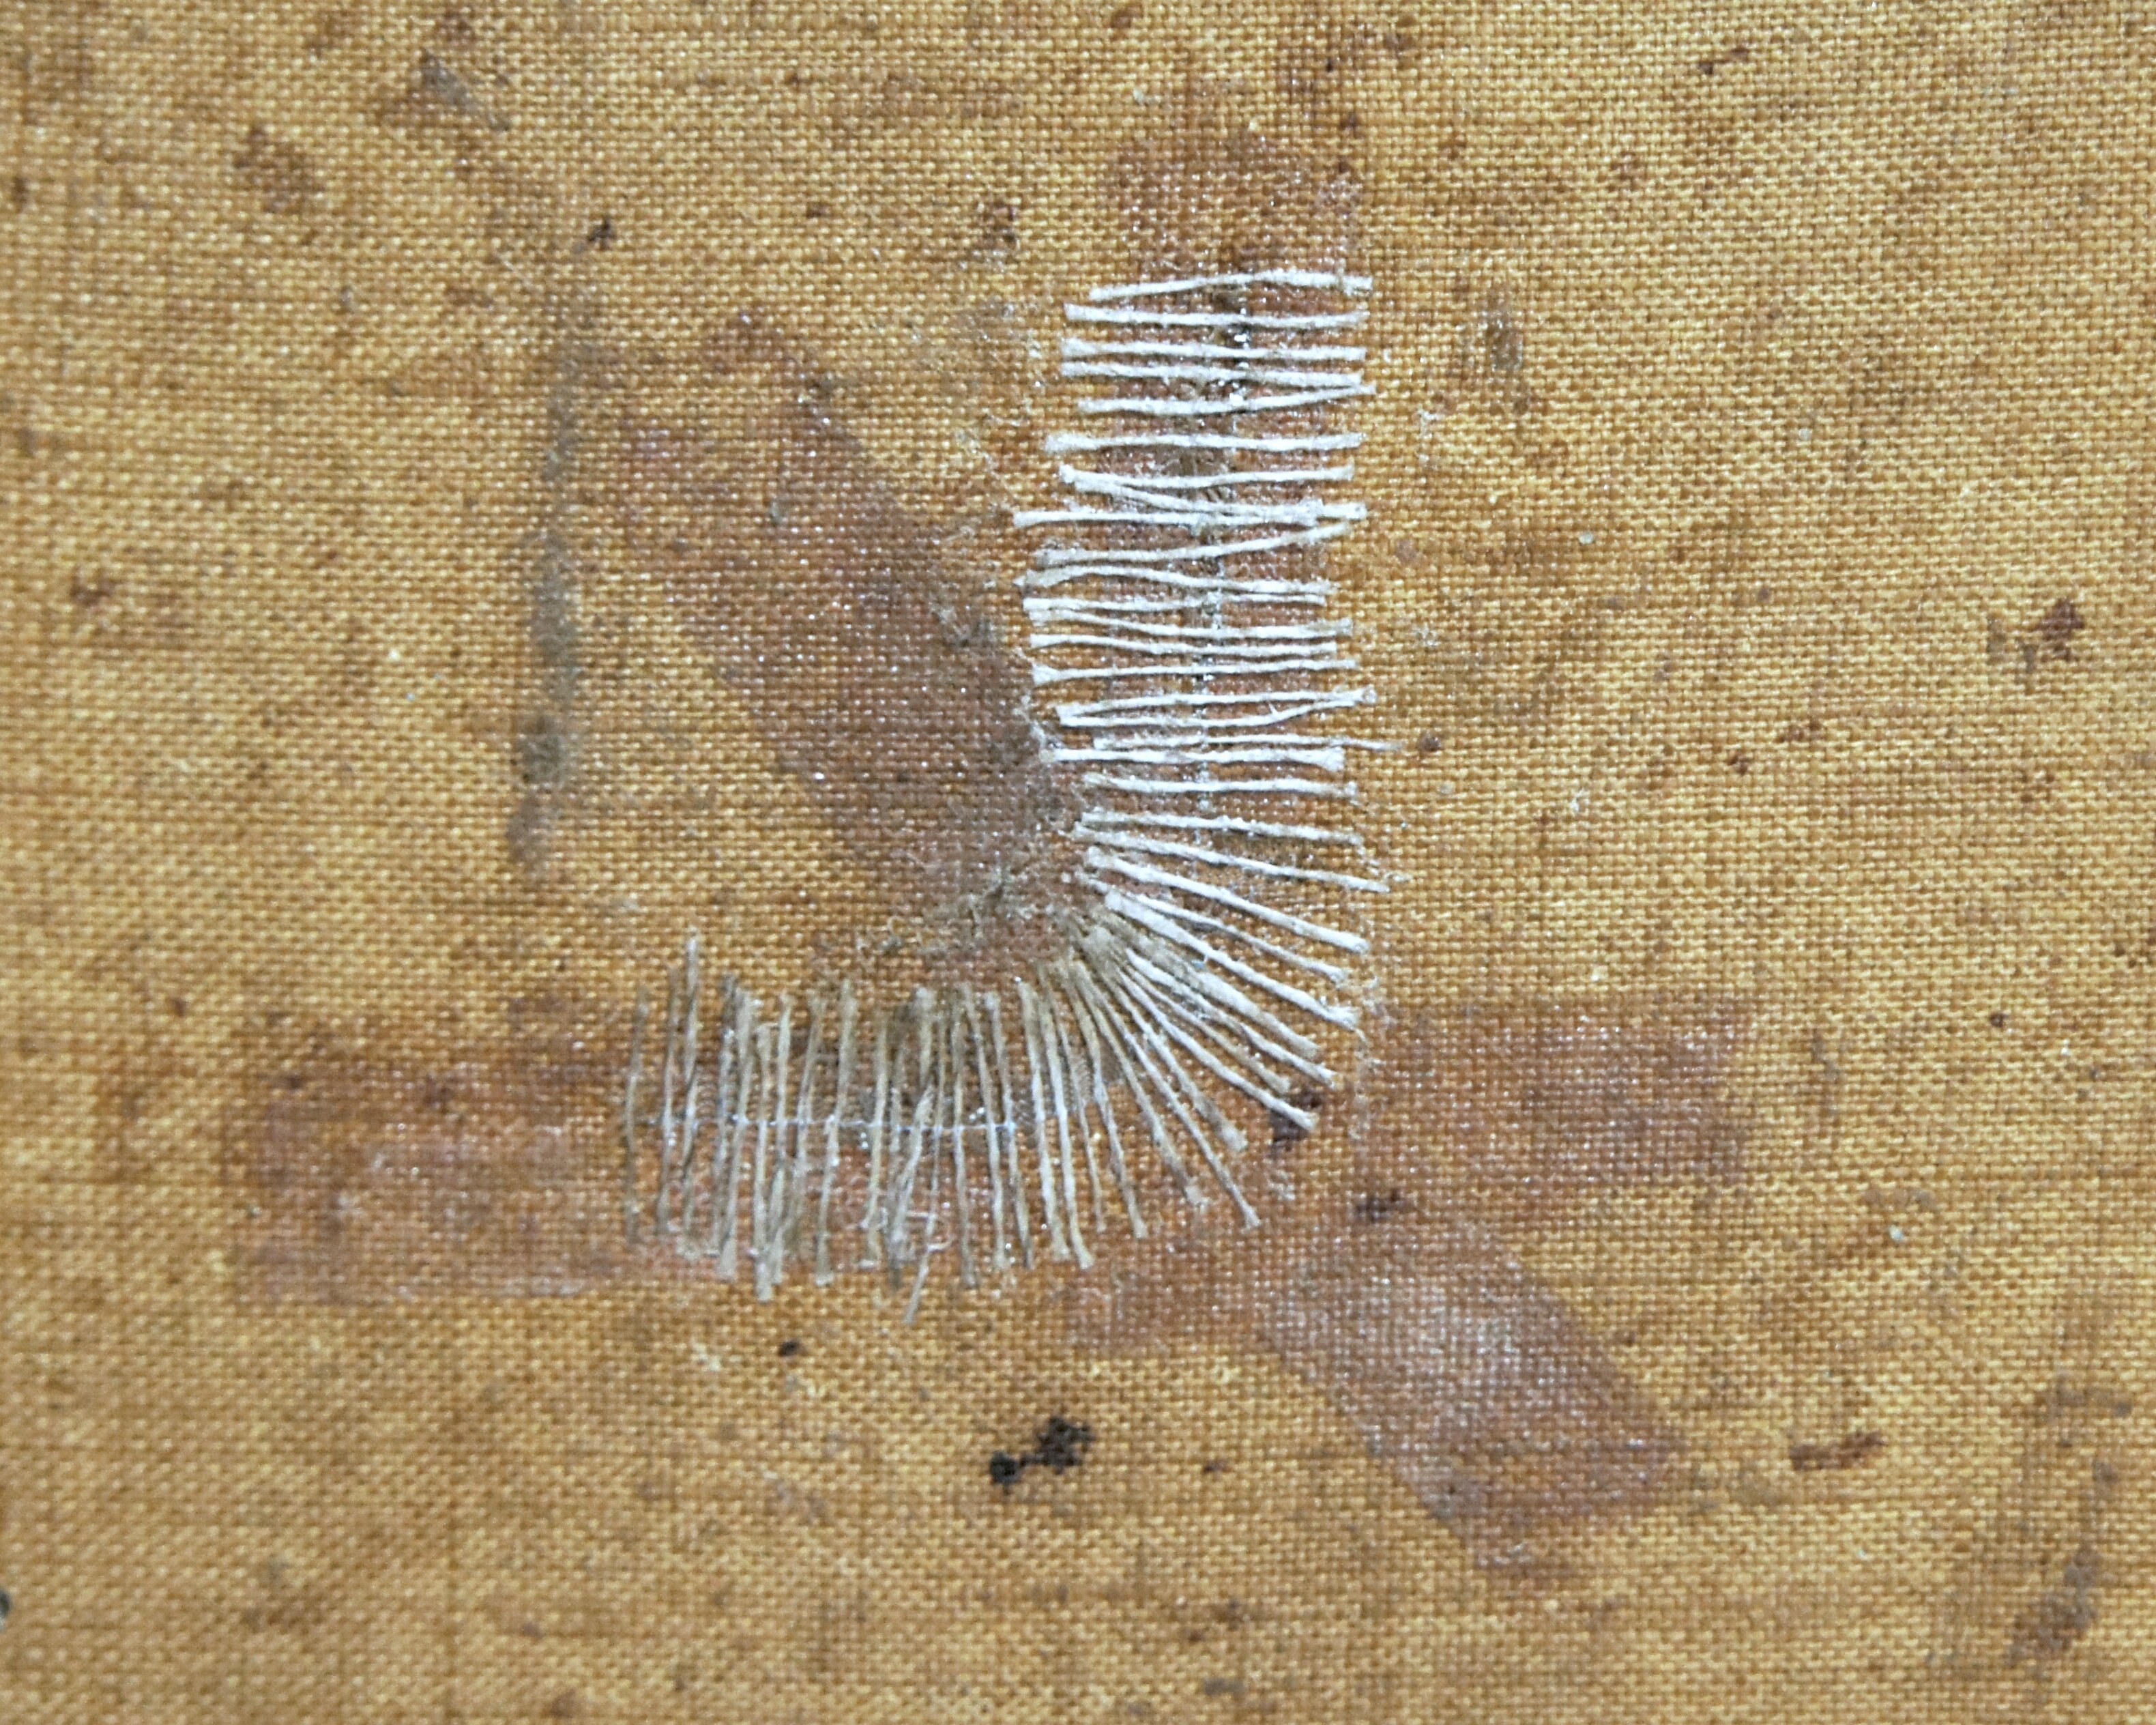
Canvas fabric can tear due to strong impact. In the past, repairs typically involved using tape or patch fabrics, or reinforcing the entire back of the canvas with an additional fabric lining. In the 1990s, however, the German conservator Winfried Heiber developed the single thread bonding technique, which gained prominence as a less invasive treatment method. This approach involves reconnecting individual broken threads to their original positions (Fig. 1), and has since become widely used in Europe and North America. In Japan, the technique was introduced at Tohoku University of Art & Design in 2002 but has not been widely adopted by conservators in the country. More common methods include kakehagi (bridge patching), in which threads are arranged in a bridge-like formation and fixed in place (Fig. 2).
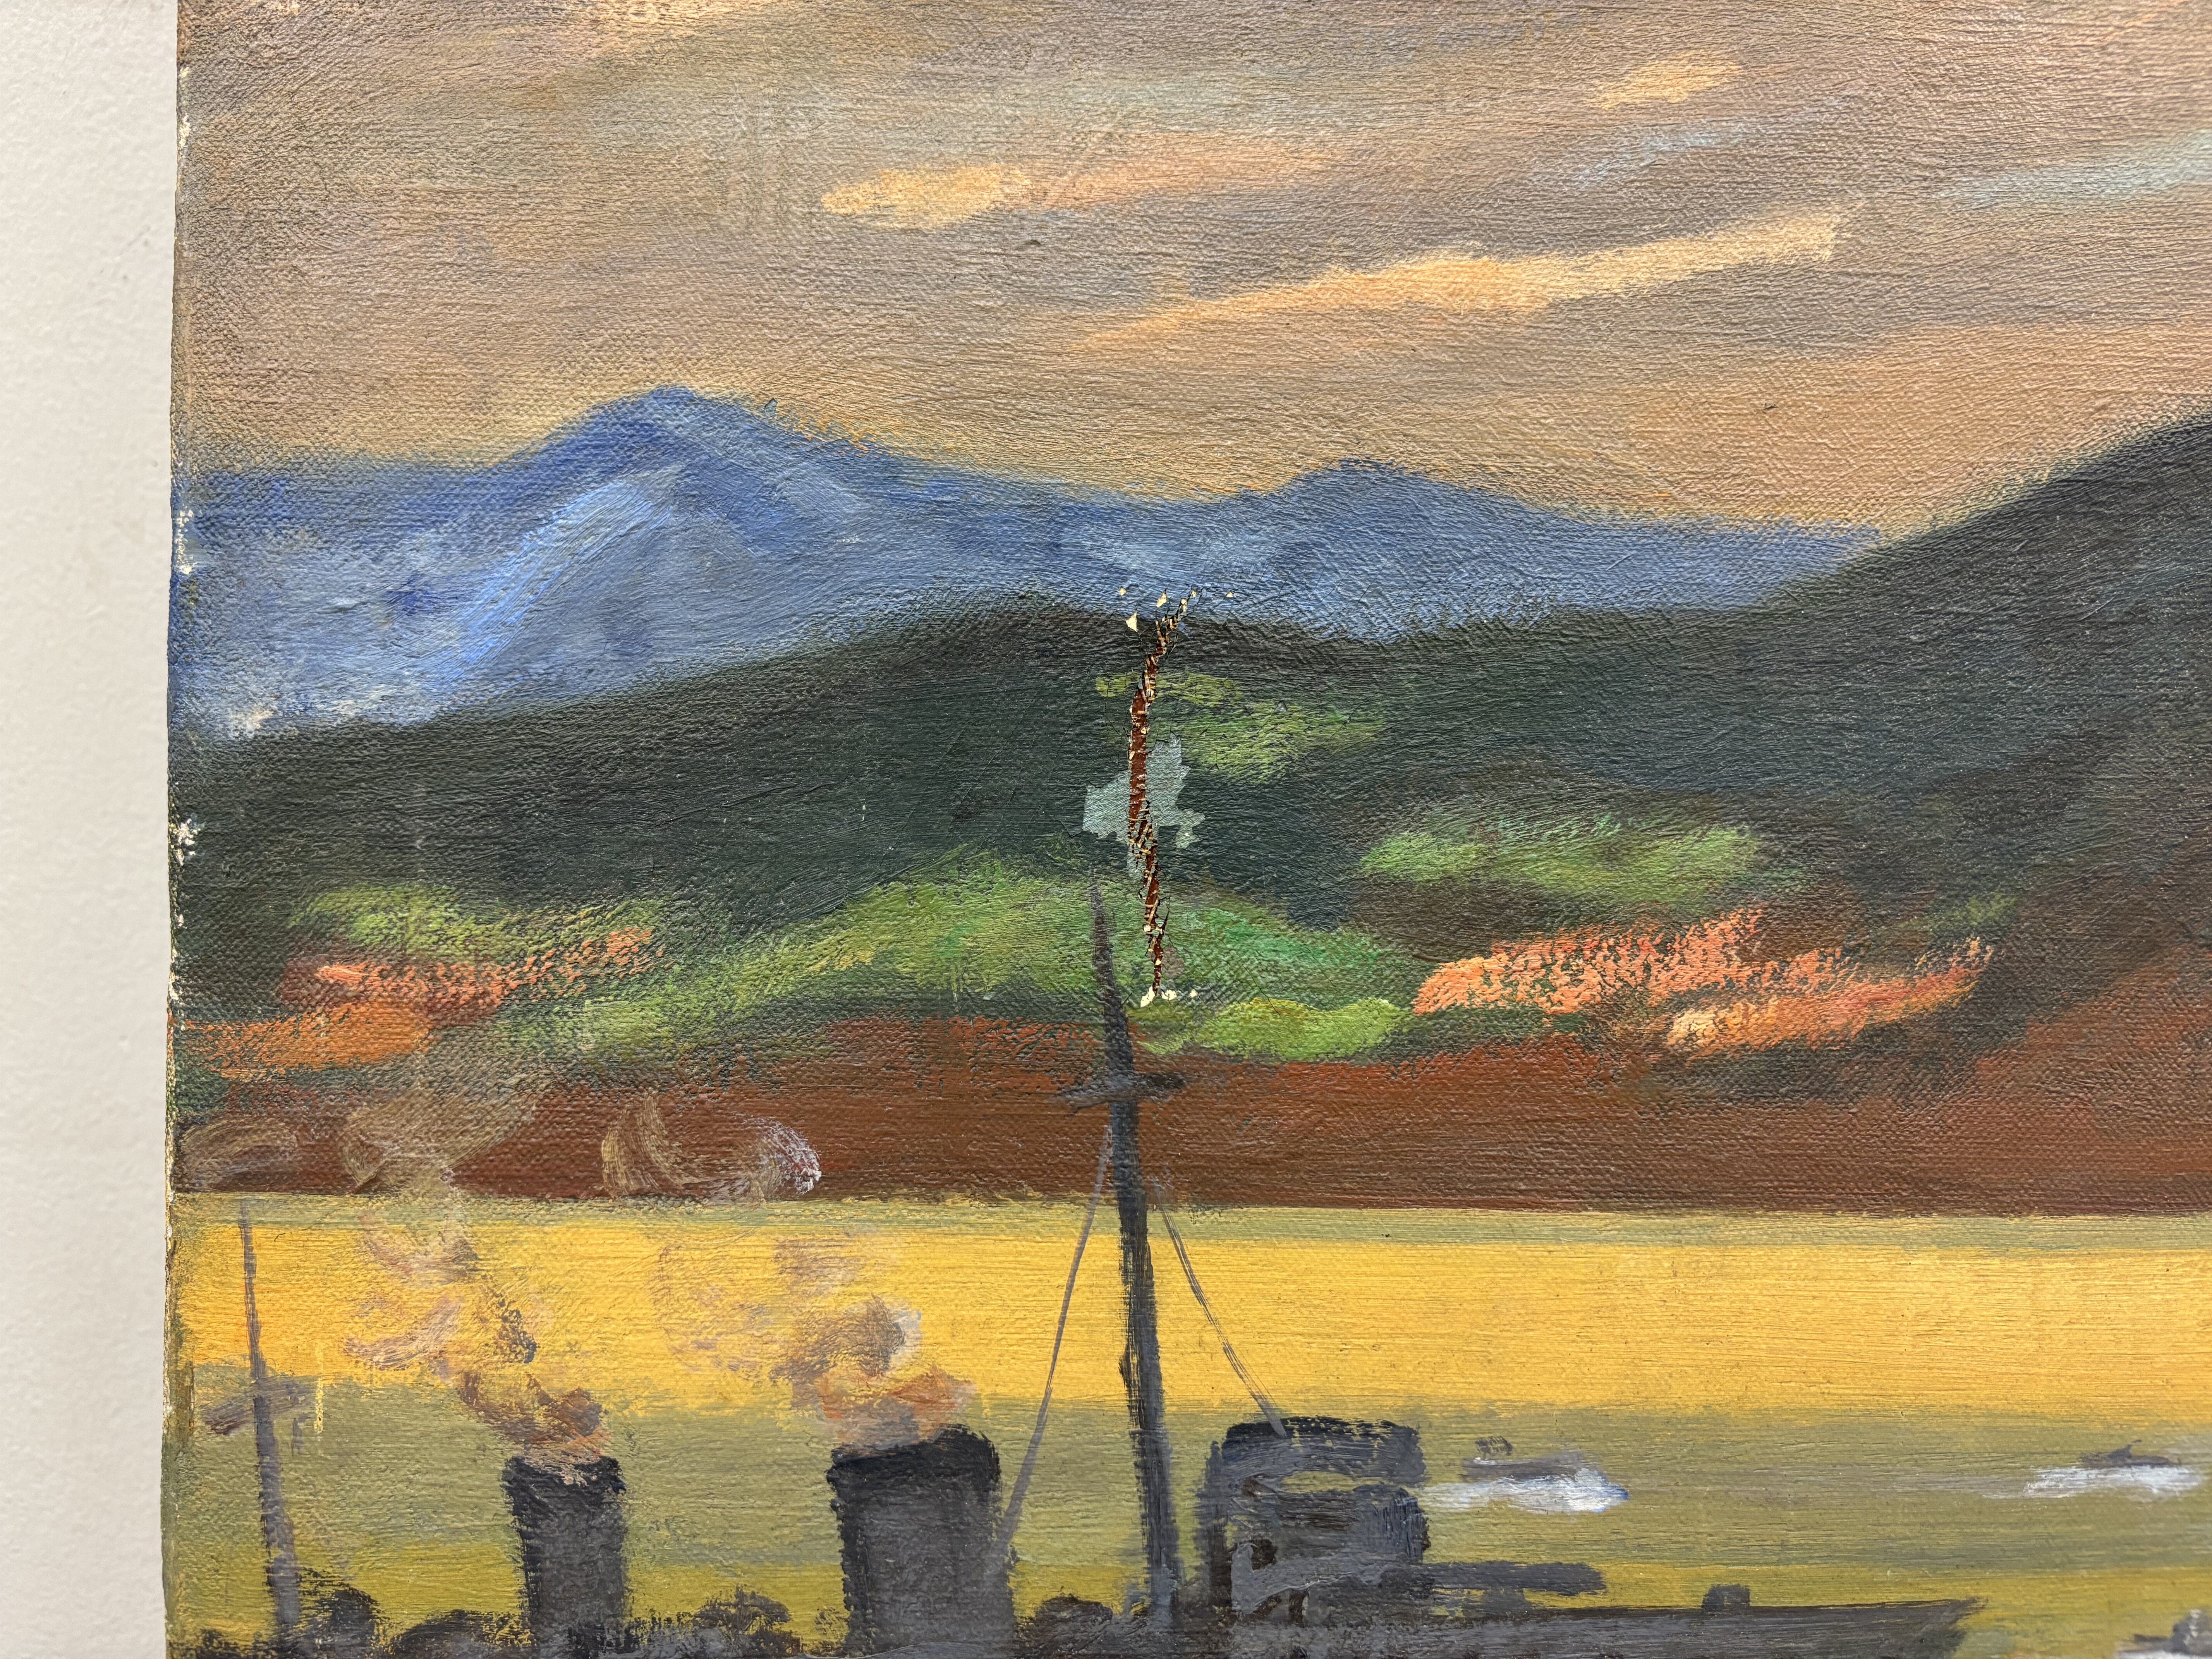
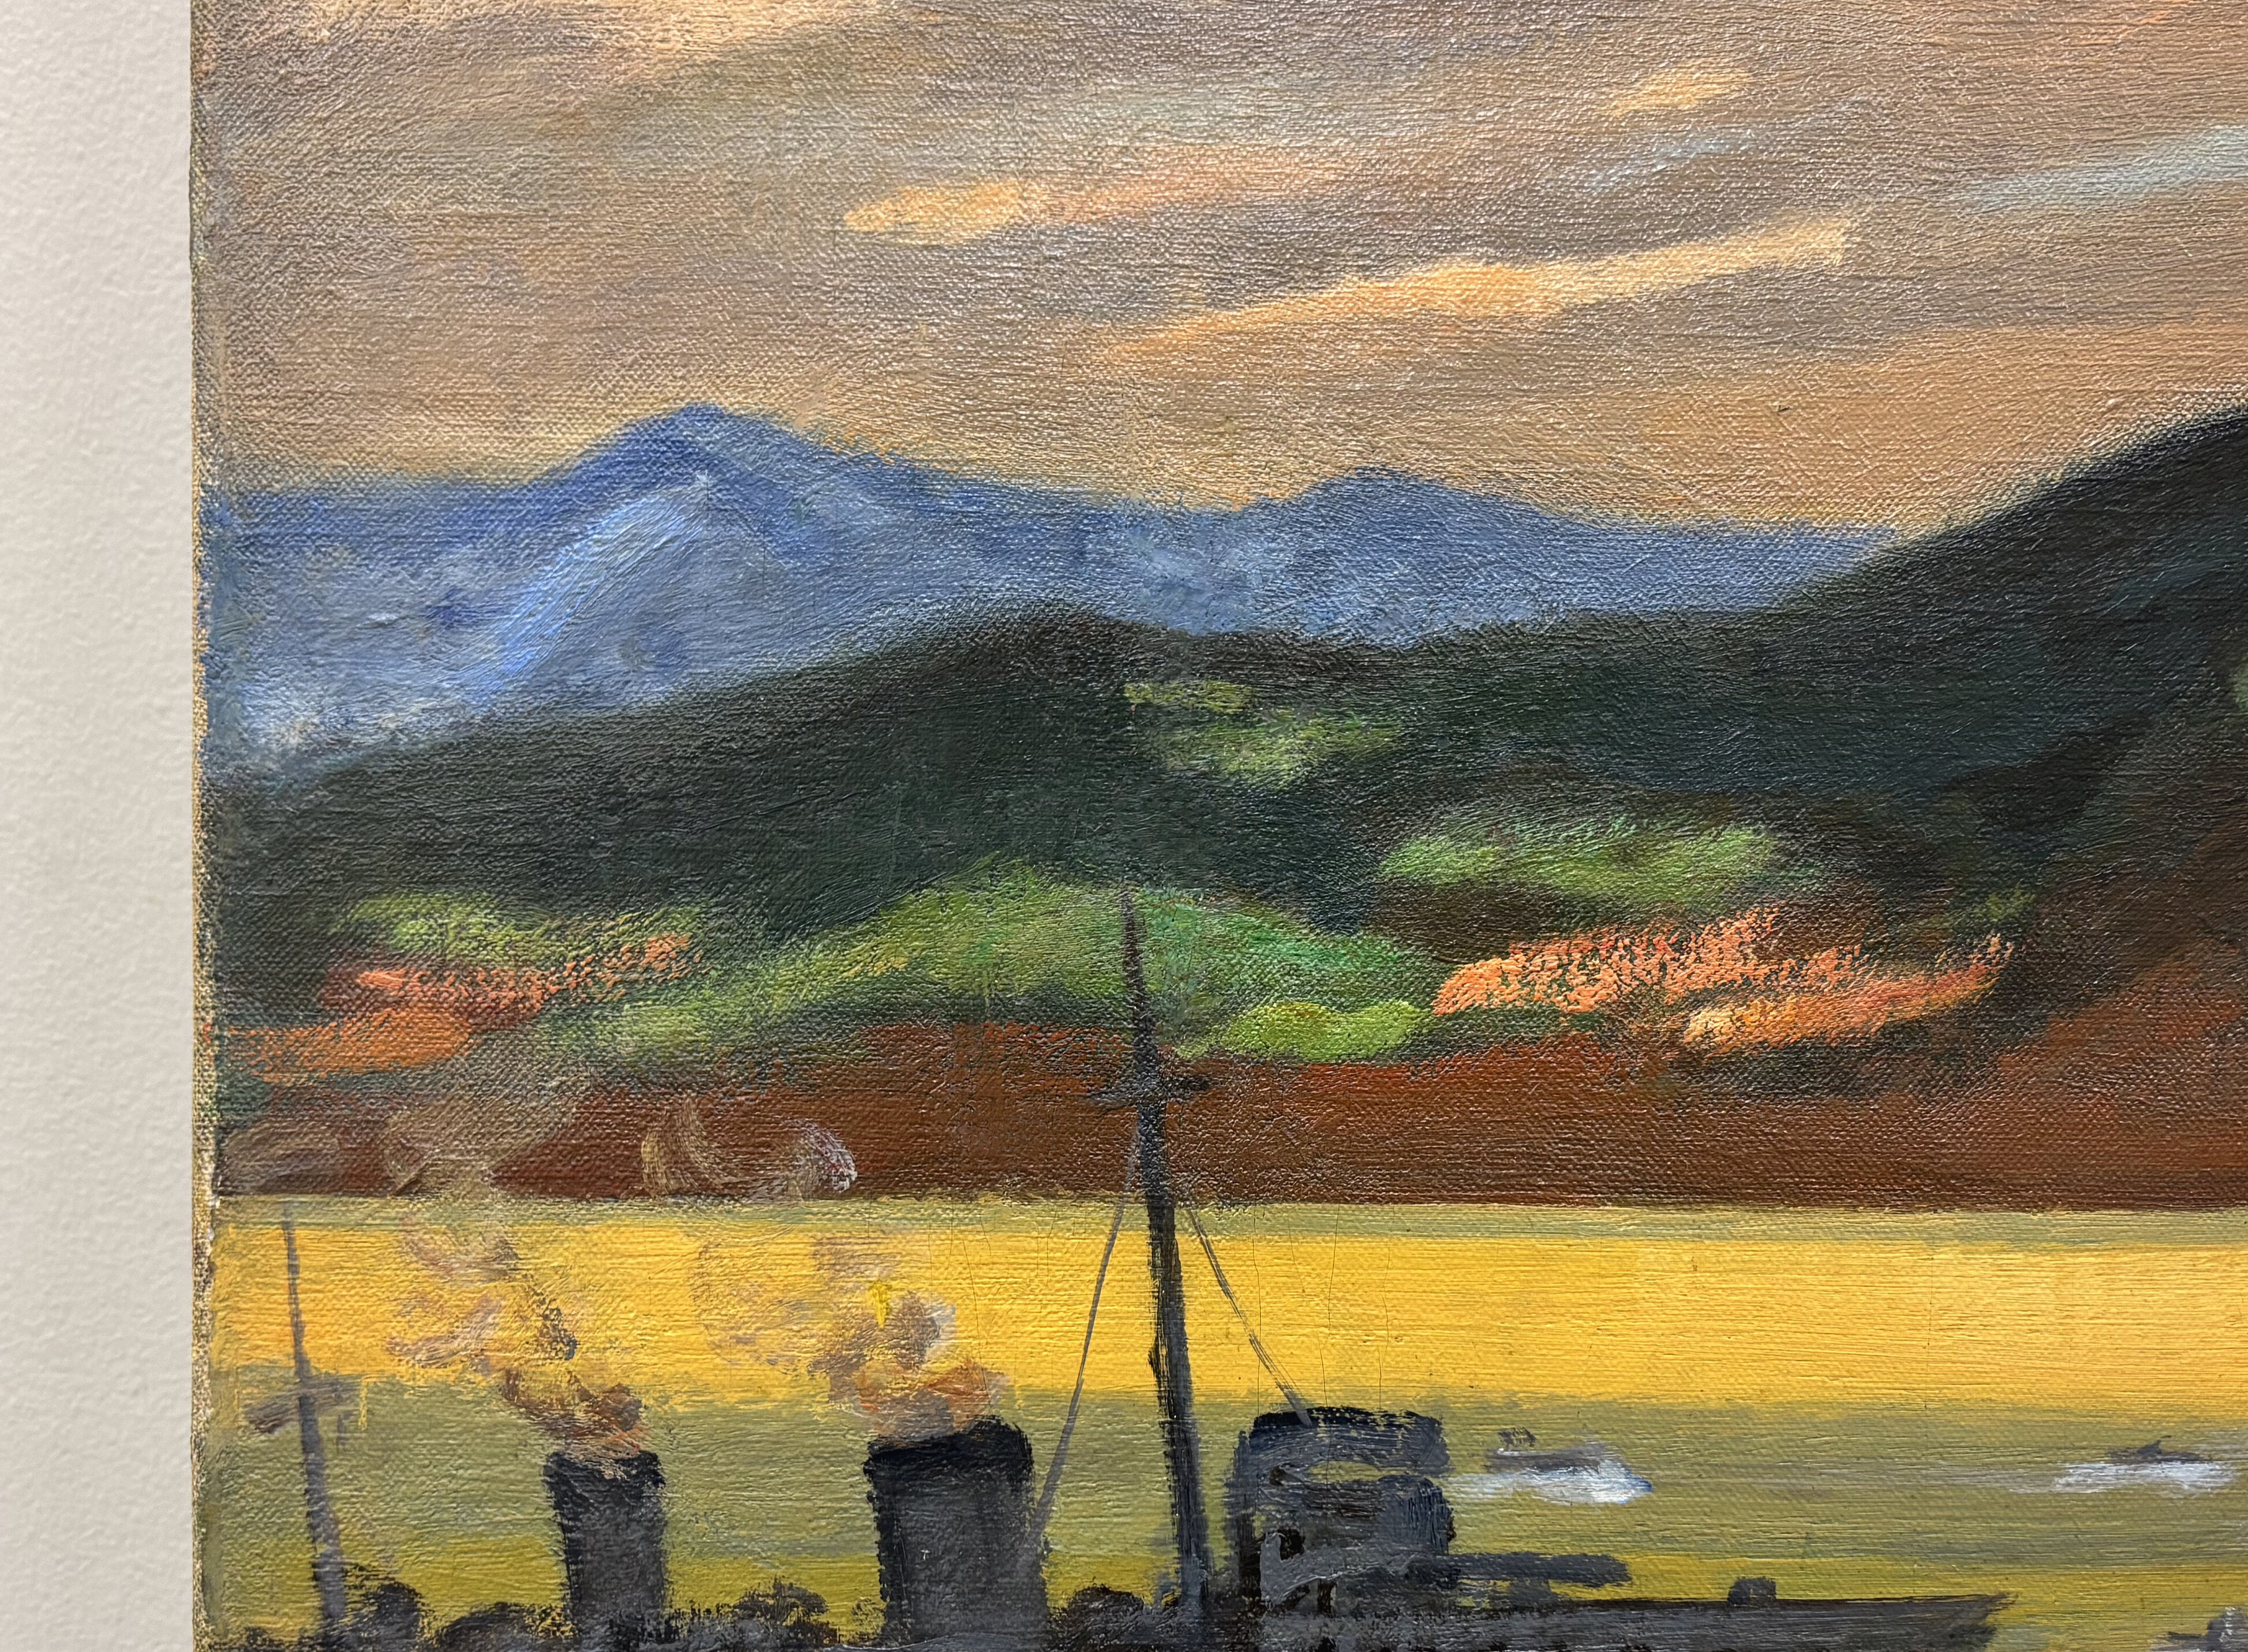
Single thread bonding research and practice continue in Western countries. Last year in Sydney, with support from the J. Paul Getty Trust, German conservators and researchers who have carried on Heiber’s work held a workshop on canvas tear repair based on the latest research findings. I participated in this workshop and, after returning to Japan, applied these techniques to restore a tear in Minesweeping at the Zhujiang Estuary by Kumaoka Yoshihiko (Fig. 3), which is on indefinite loan to the National Museum of Modern Art, Tokyo, from the United States.
Fig. 3. Kumaoka Yoshihiko, Minesweeping at the Zhujiang Estuary, 1940, oil on canvas, 133.5 cm × 195.0 cm, National Museum of Modern Art, Tokyo, on indefinite loan from the United States (before restoration)
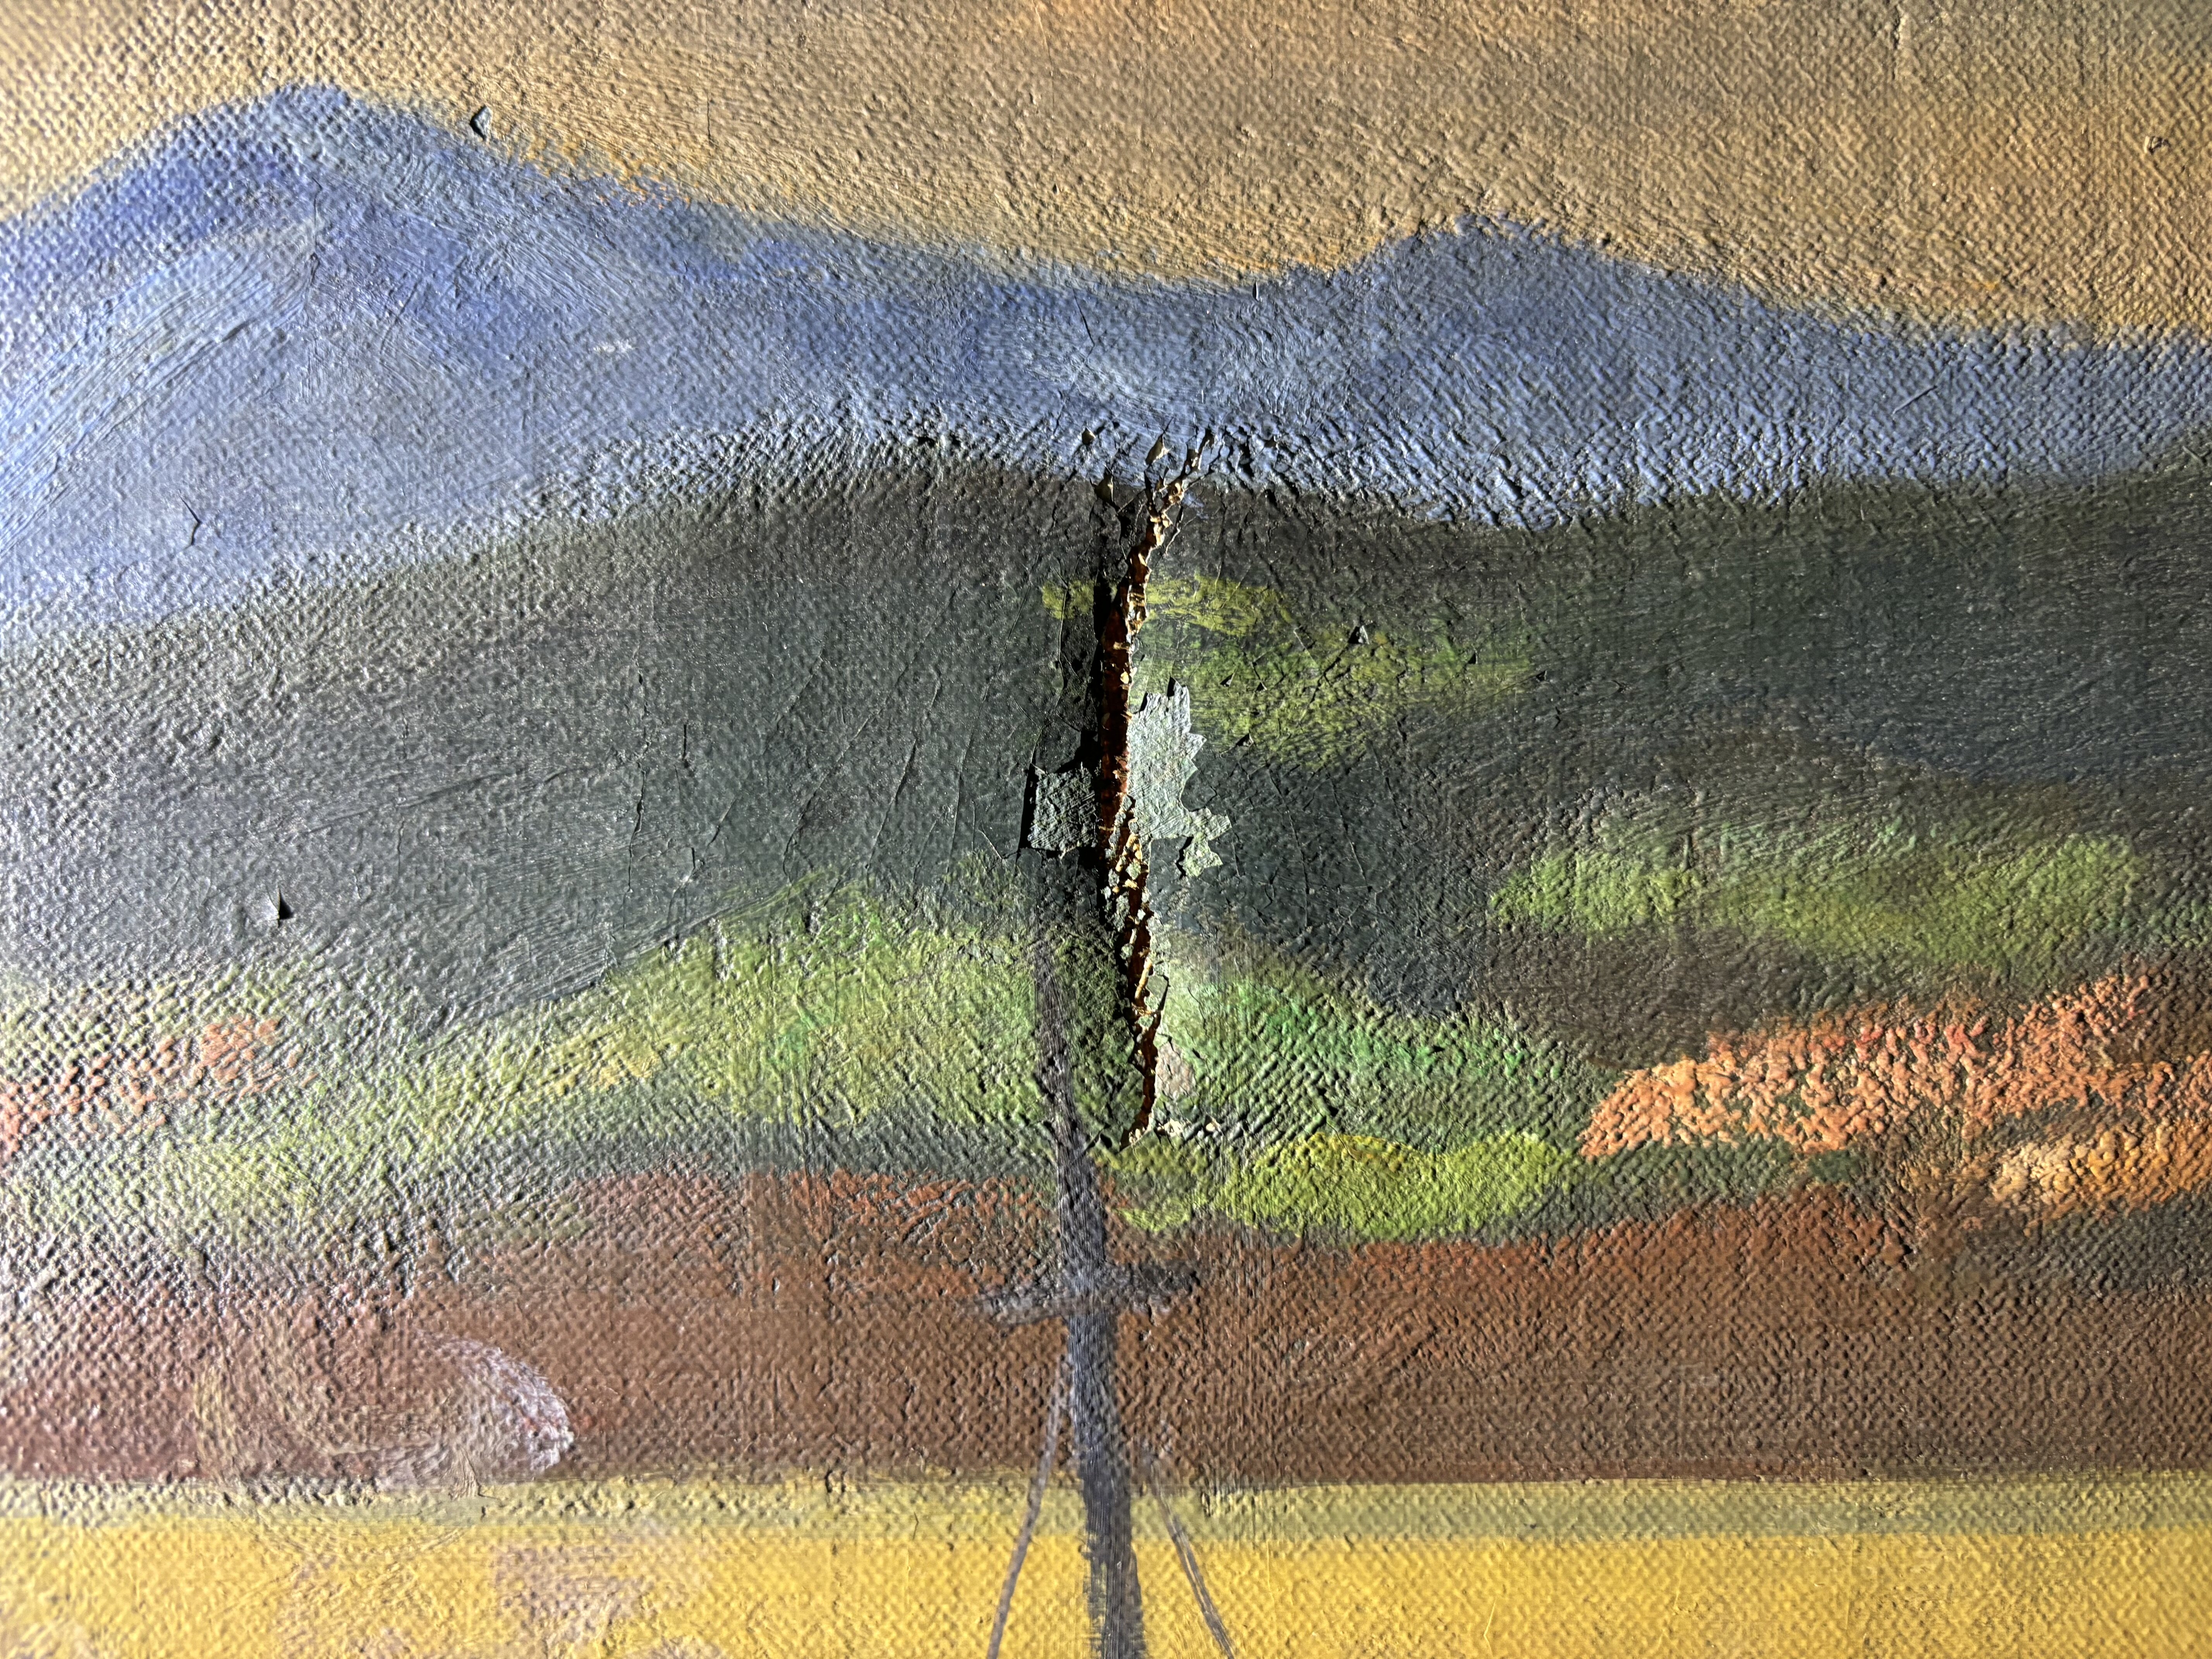
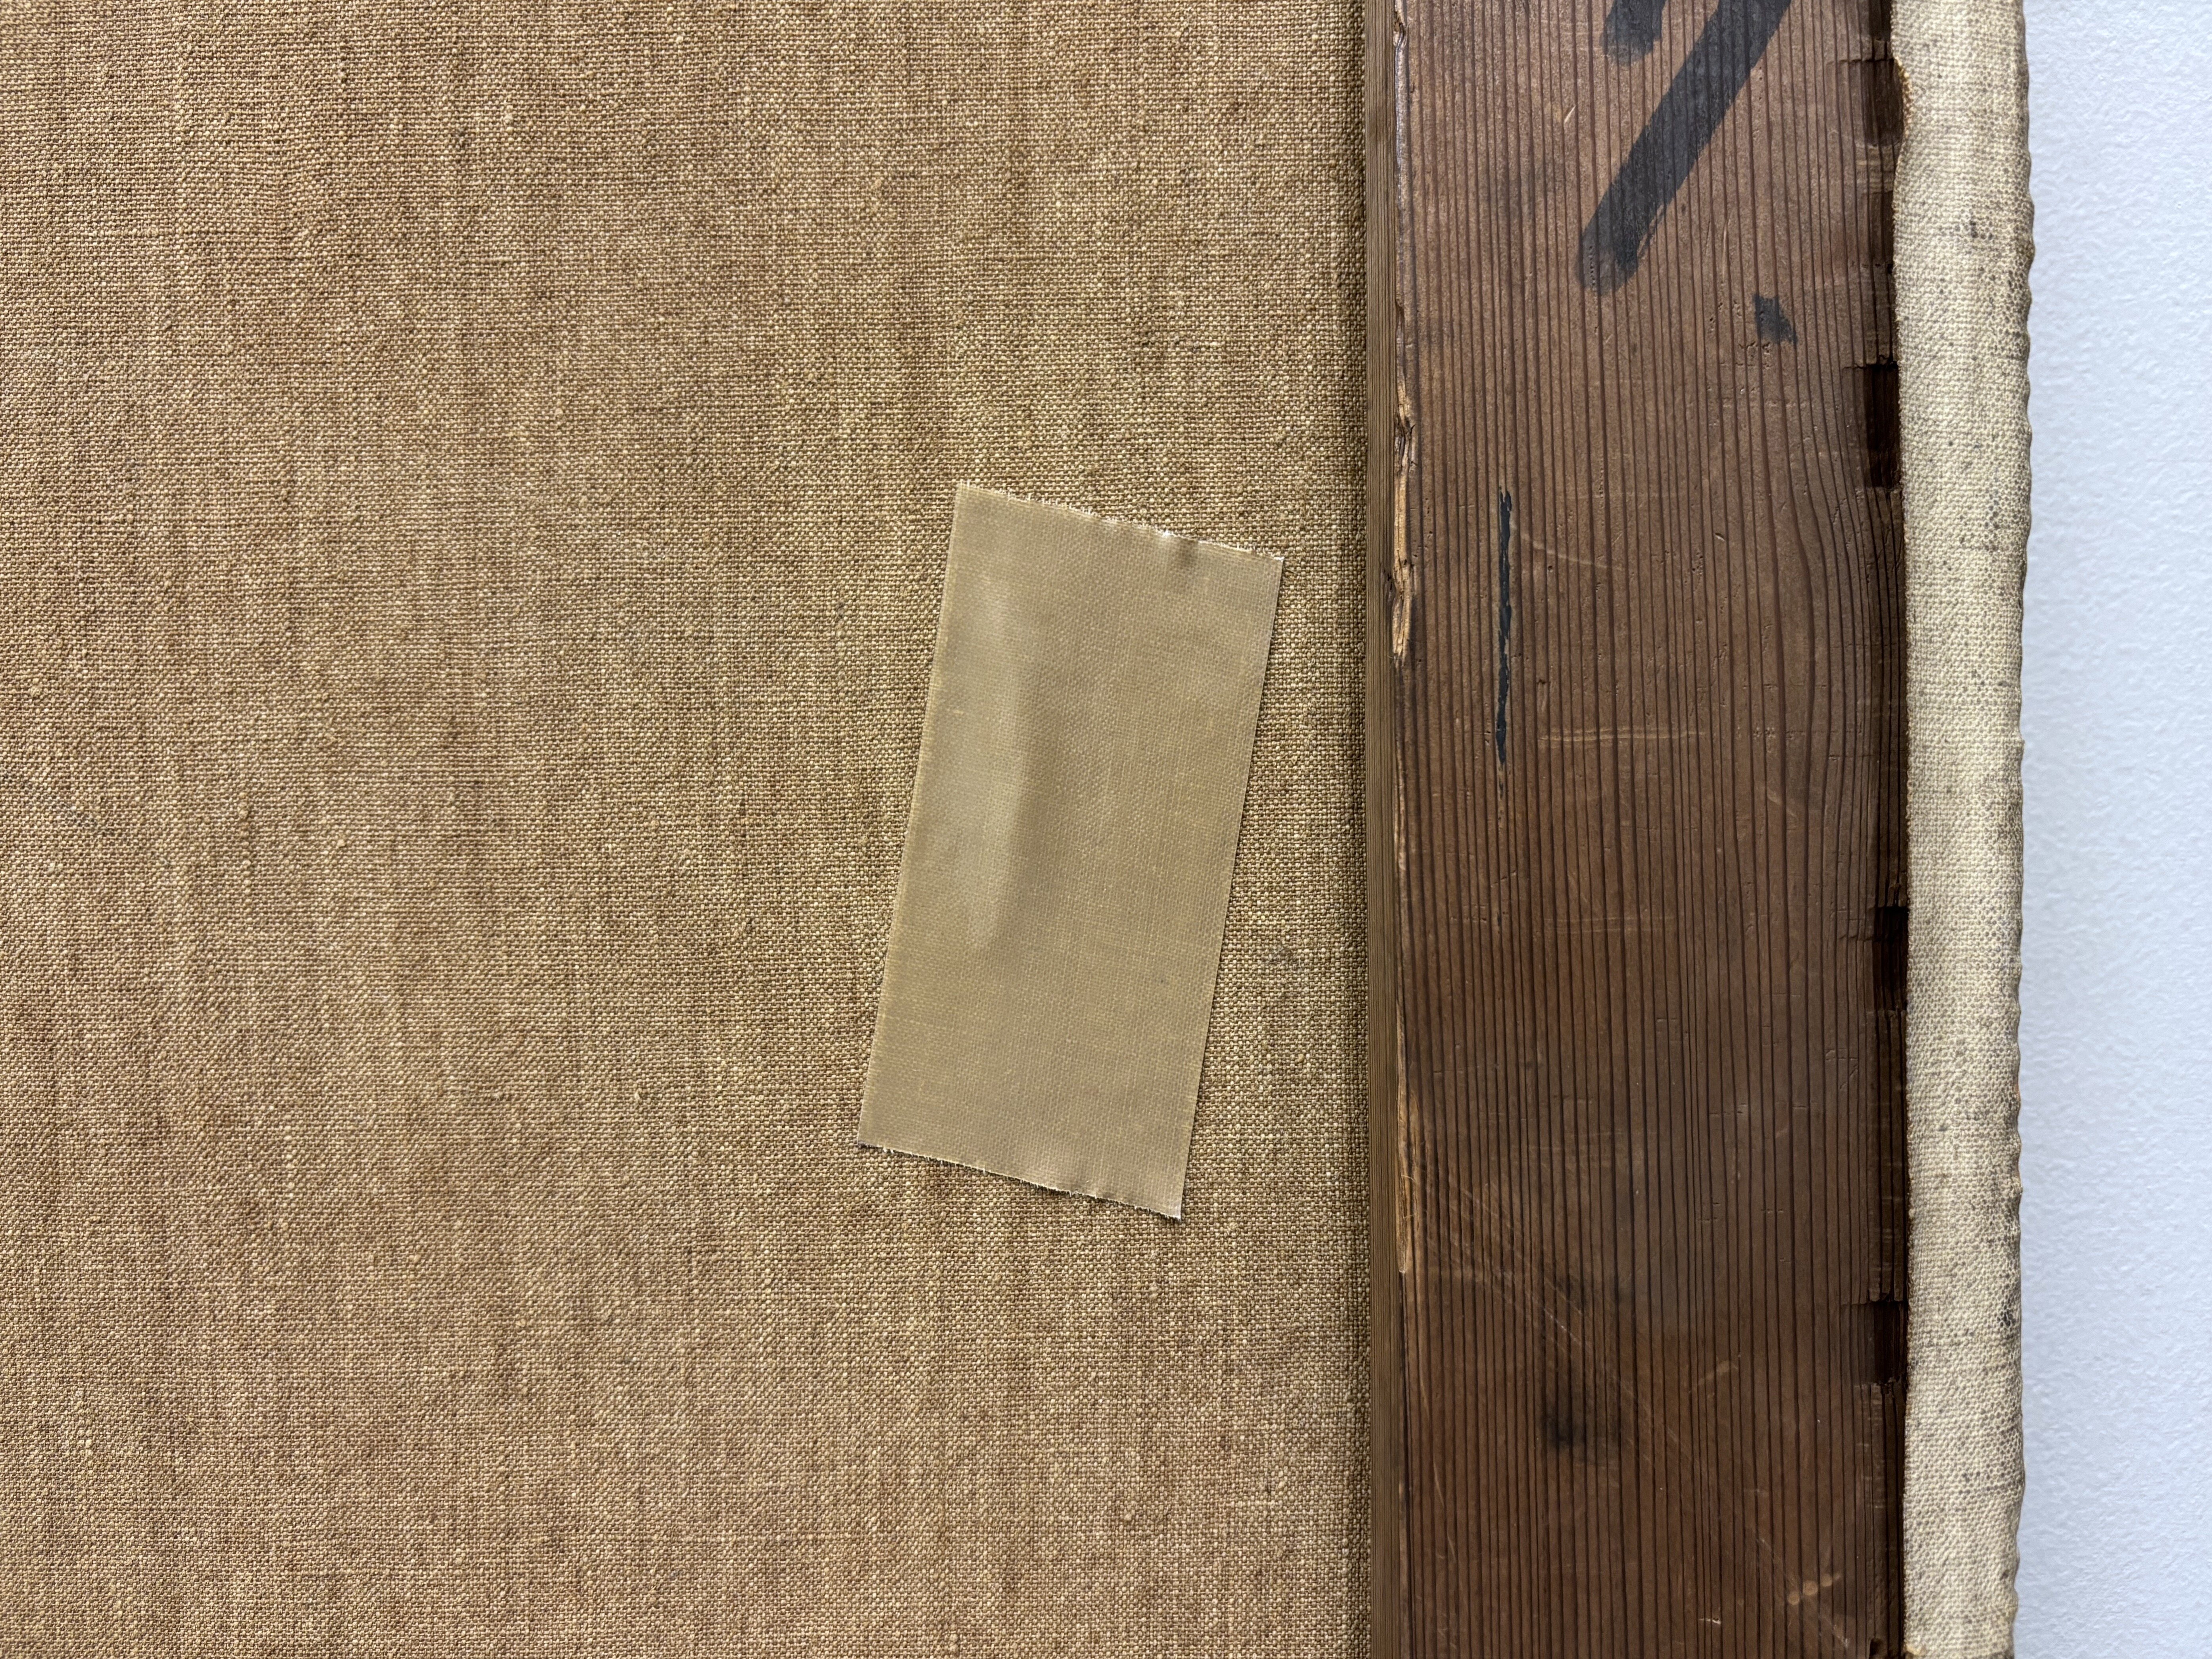
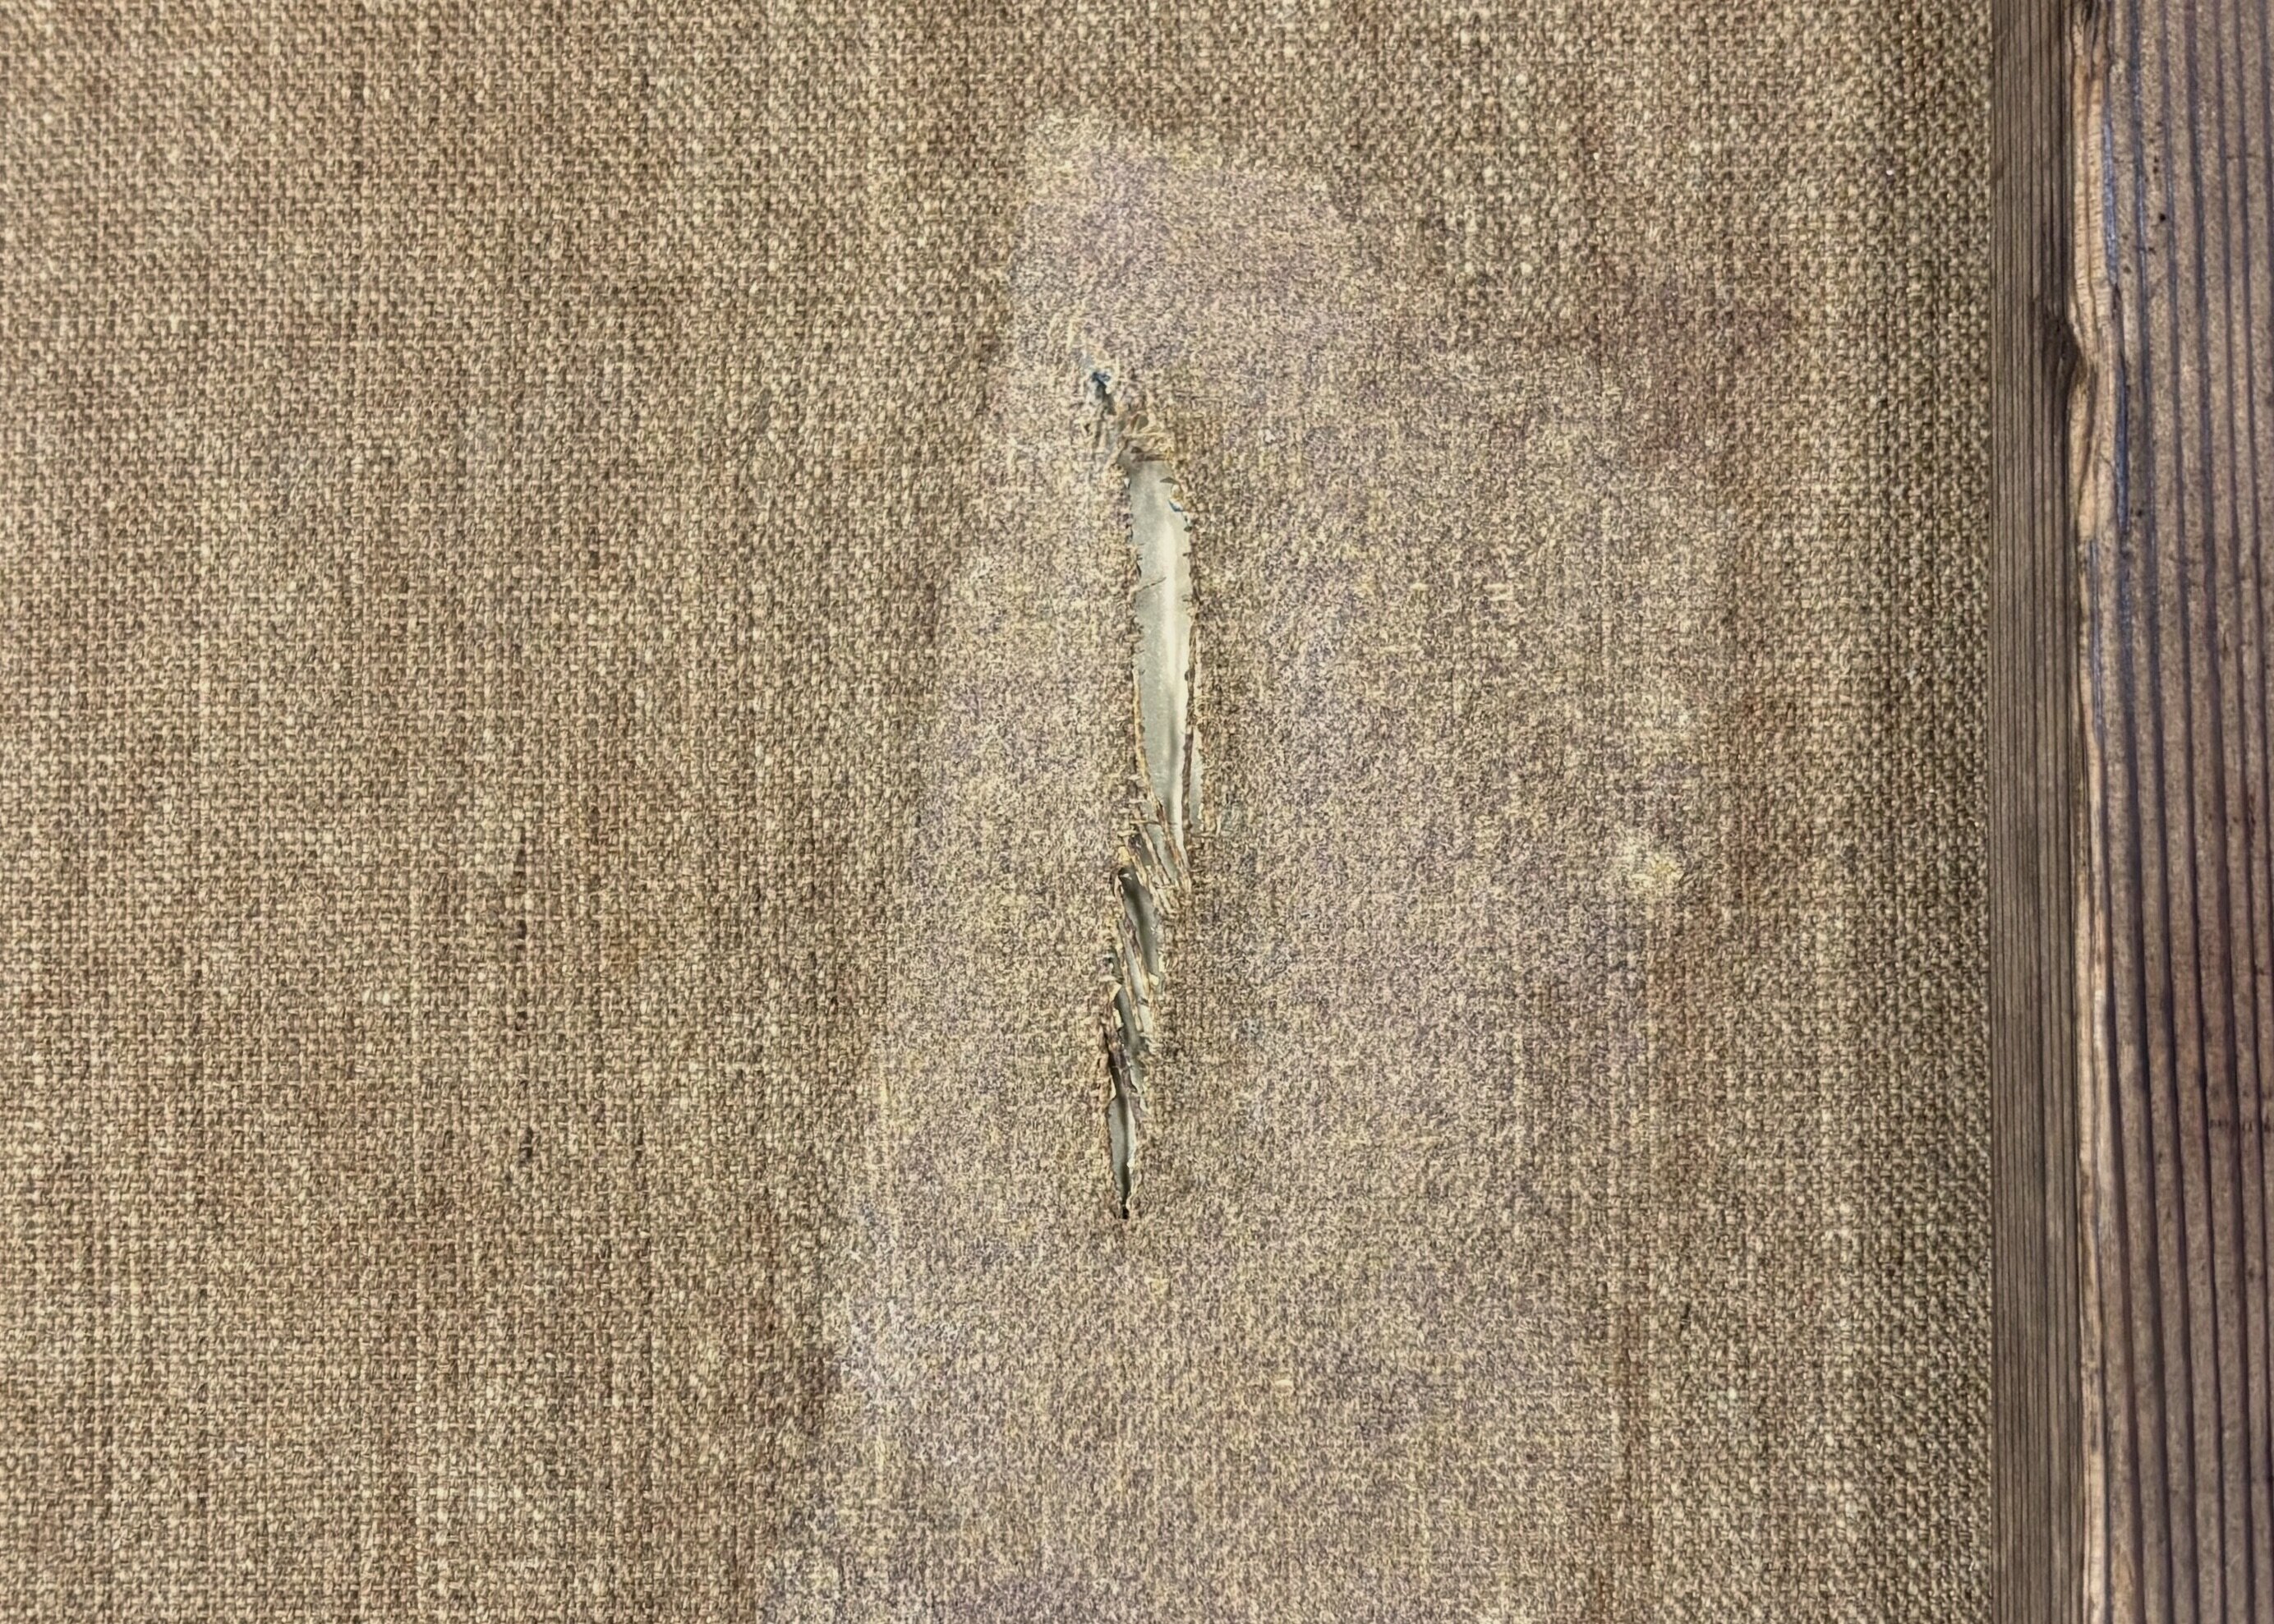
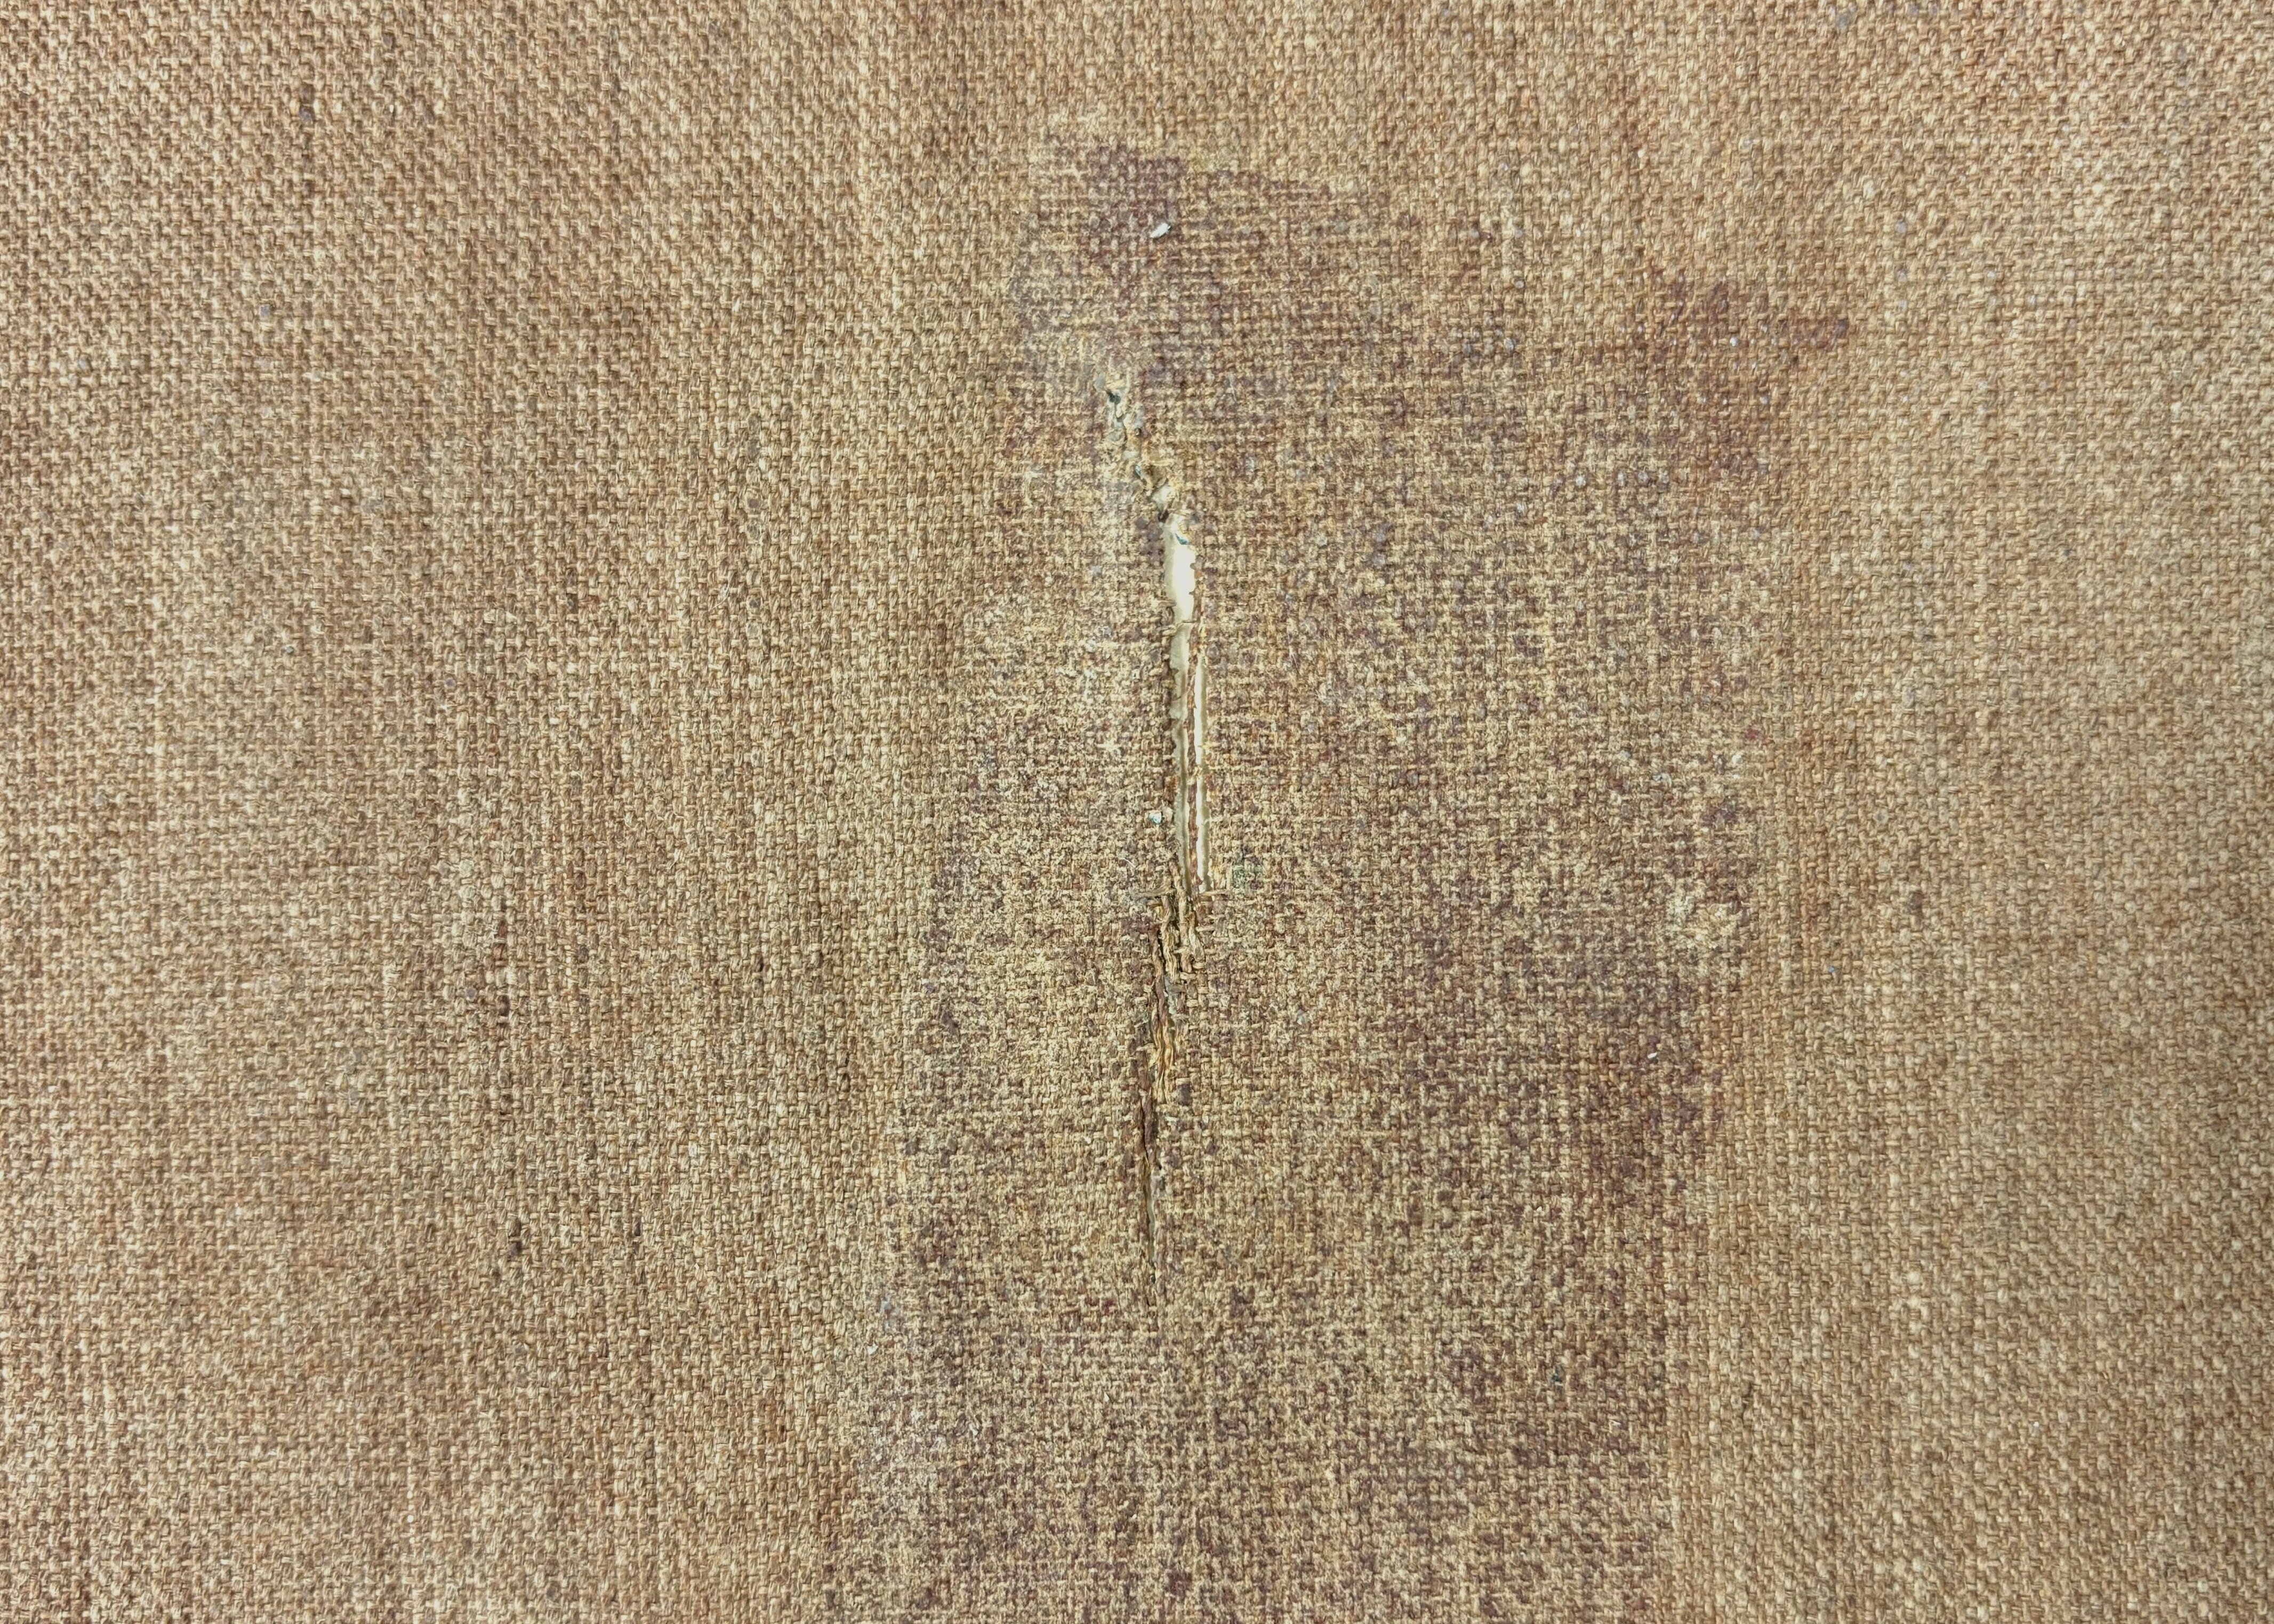
This oil painting on linen had a thick, well-preserved paint layer, but there was a tear approximately 5 cm long on the left side of the painting (Fig. 4). The damage resulted from broken weft threads caused by a strong external impact, and the tear had widened to about 5 mm due to fabric shrinkage. Adhesive tape had been applied to the back of the canvas (Fig. 5). The paint near the tear on the front had also flaked off, so I first stabilized the affected area with sturgeon glue, then carefully removed the tape from the back and scraped away the adhesive residue with a scalpel.
Single thread bonding involves reconnecting the ends of broken threads using a minuscule amount of adhesive, restoring each one into a continuous single thread. Repeating this process closes the canvas tear while minimizing stress on the work and introduction of new materials, with the aim of restoring the physical and aesthetic integrity of the original canvas.
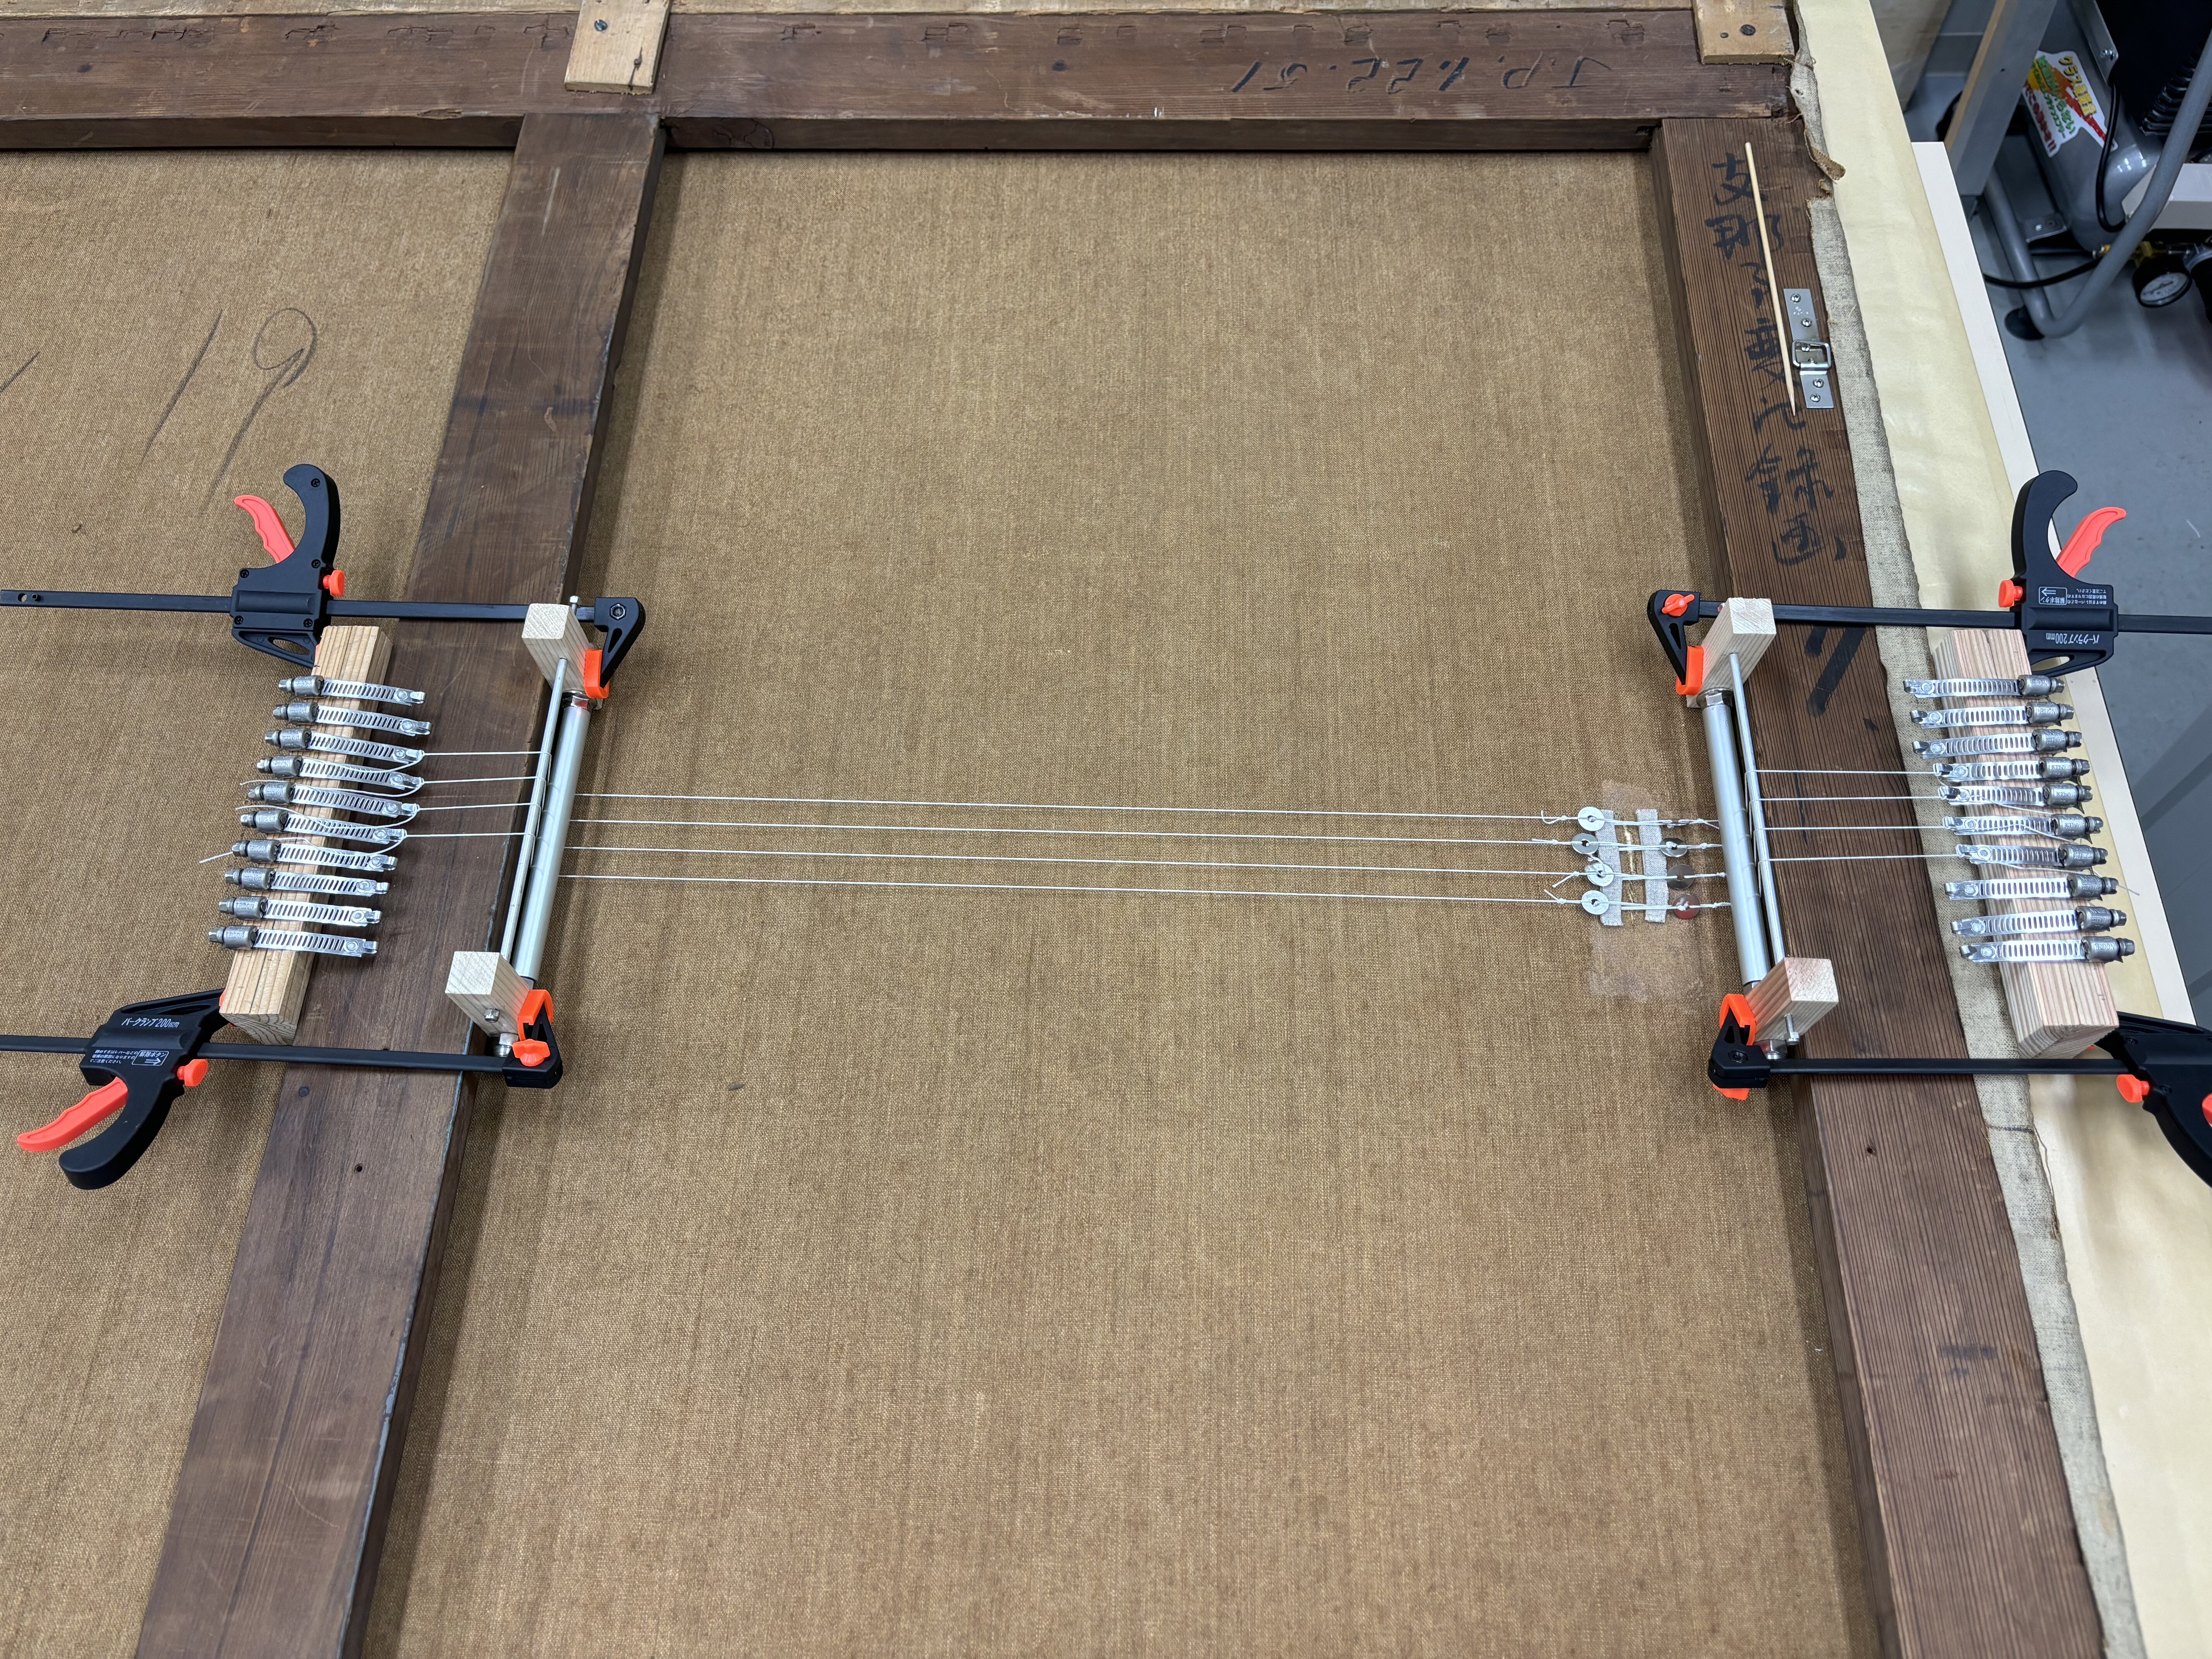
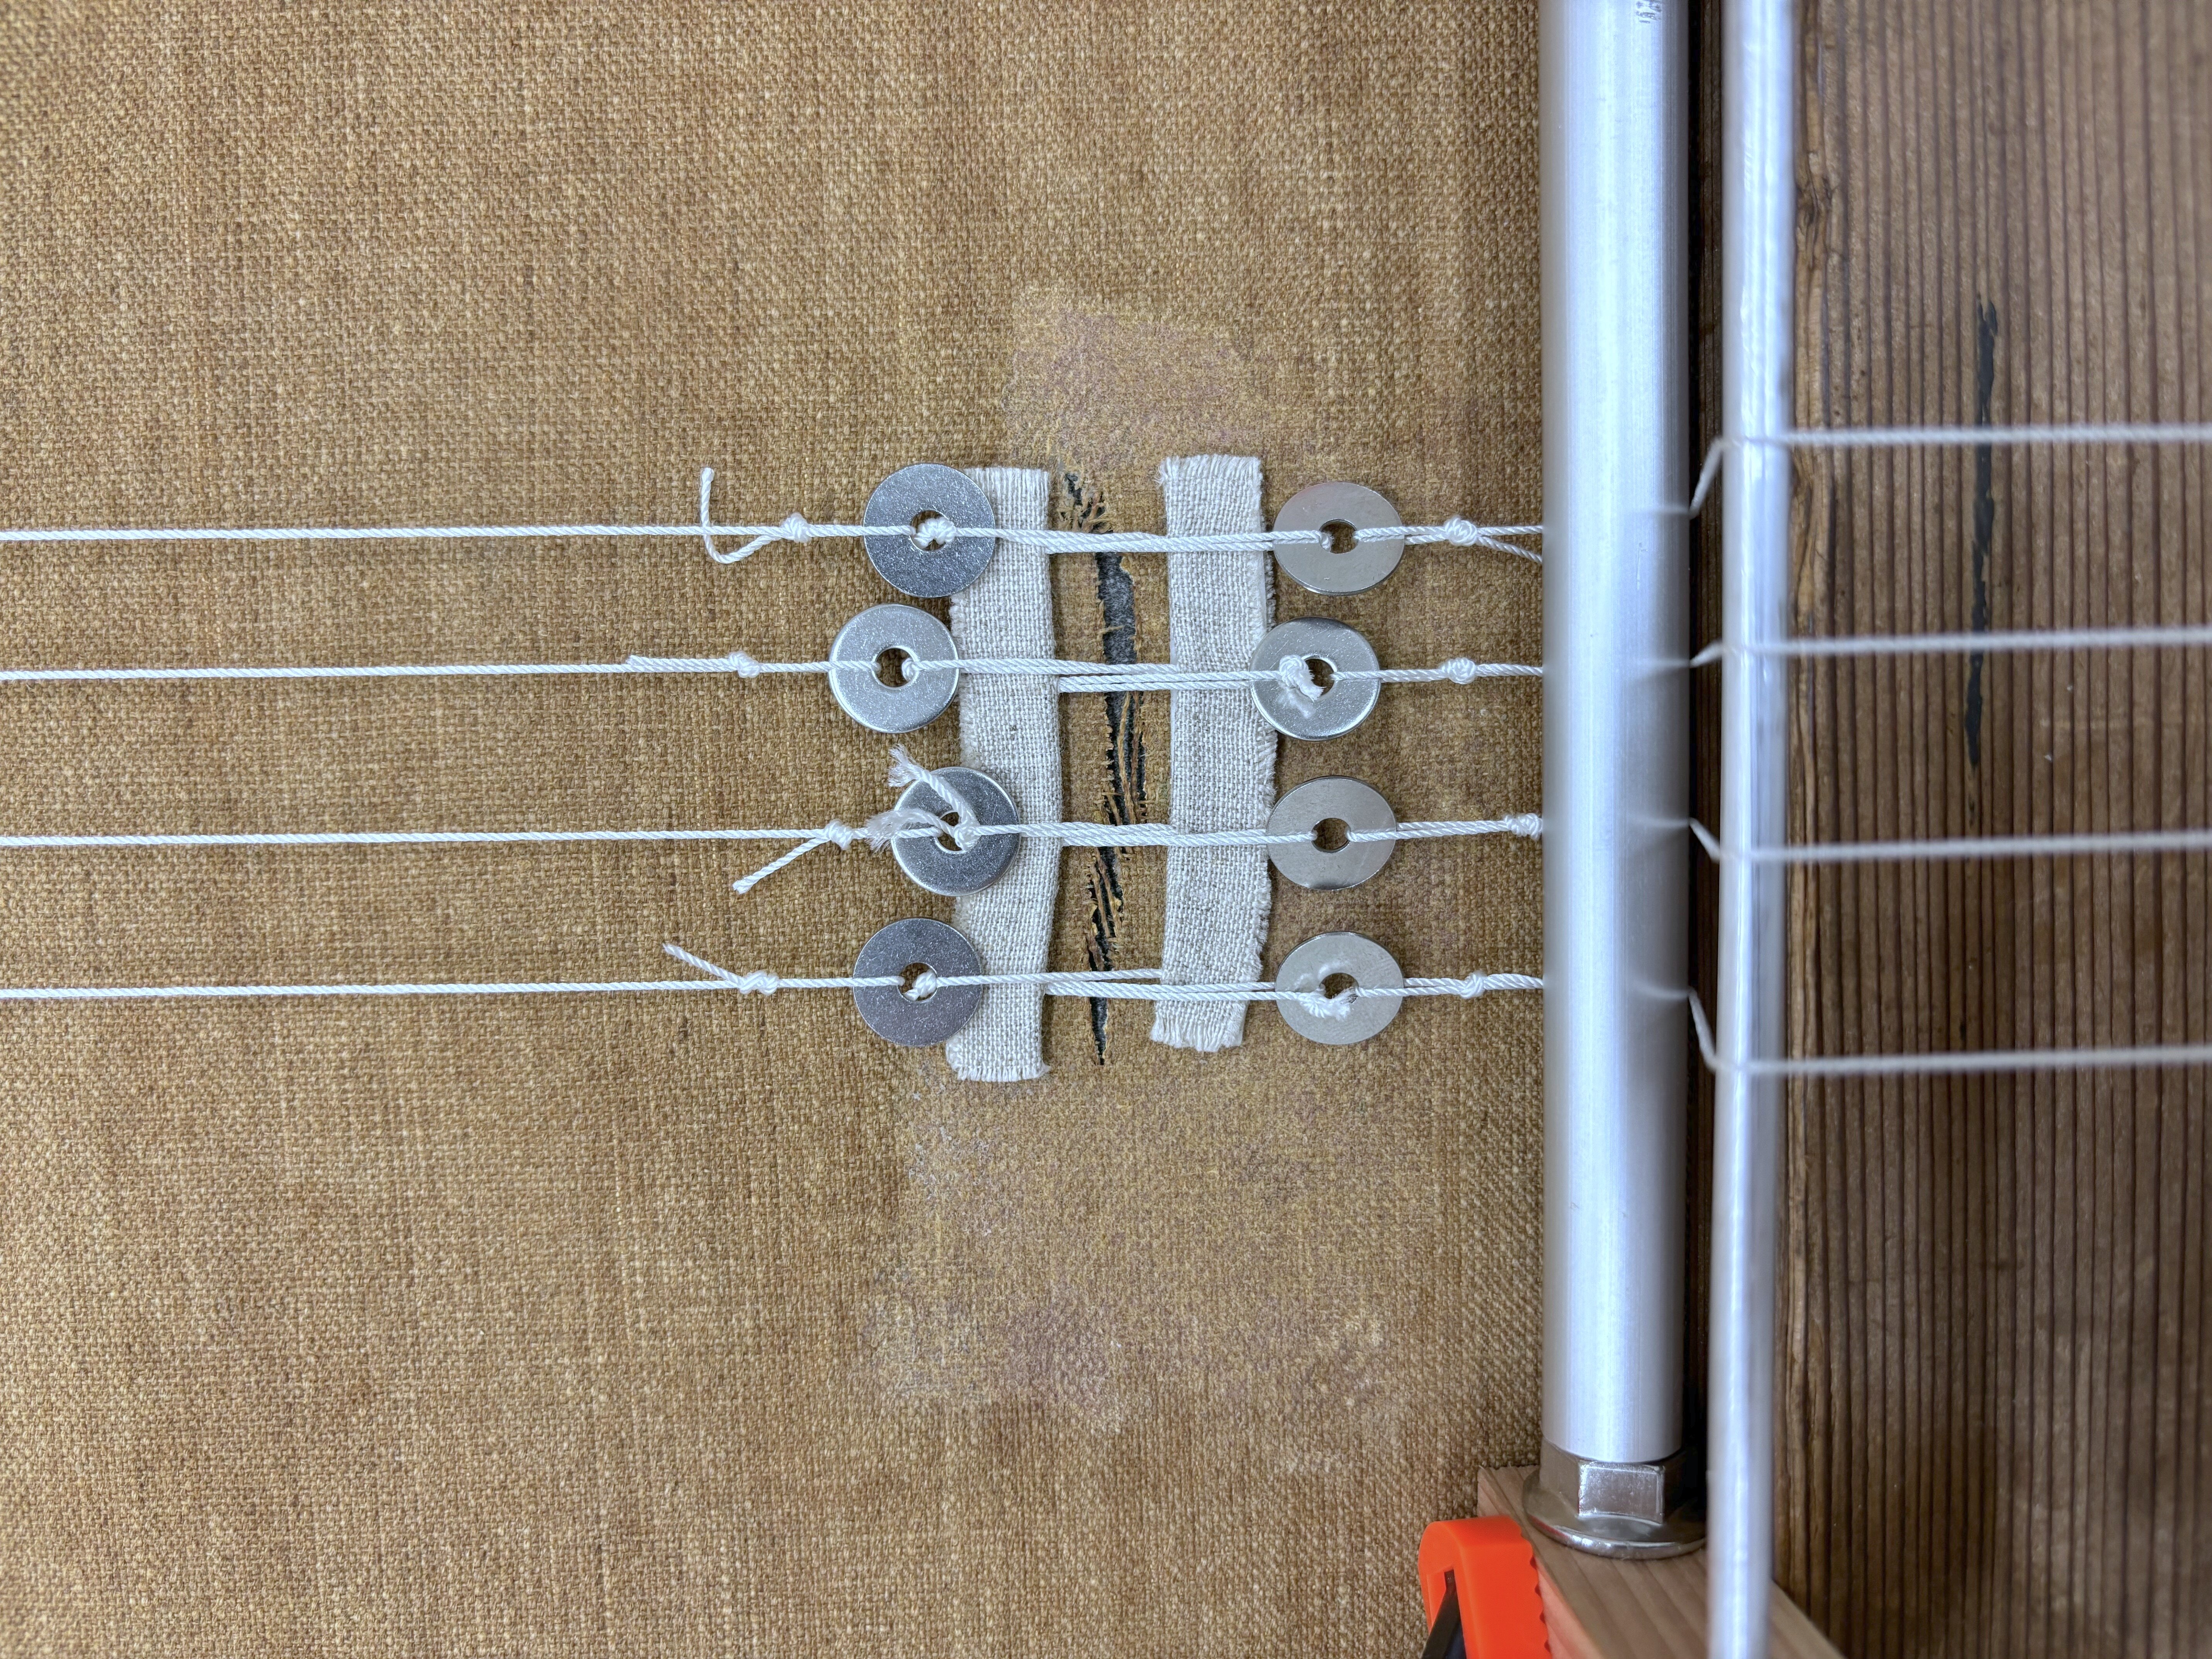
The first step in single thread bonding is to realign the torn and displaced threads, positioning the broken thread ends so they can be reattached in their original places. However, in this case, the tear had created a large gap, making it difficult to bring the broken edges together. To address this, I built a custom device called a “Trecker” that applied gradual tension over time, gradually reducing the gap by pulling the torn edges toward each other (Fig. 6-1, 6-2). Because the paint layer was thick and rigid, I was unable to close the gap completely, but was able to reduce it by about half (Fig. 7-1, 7-2).
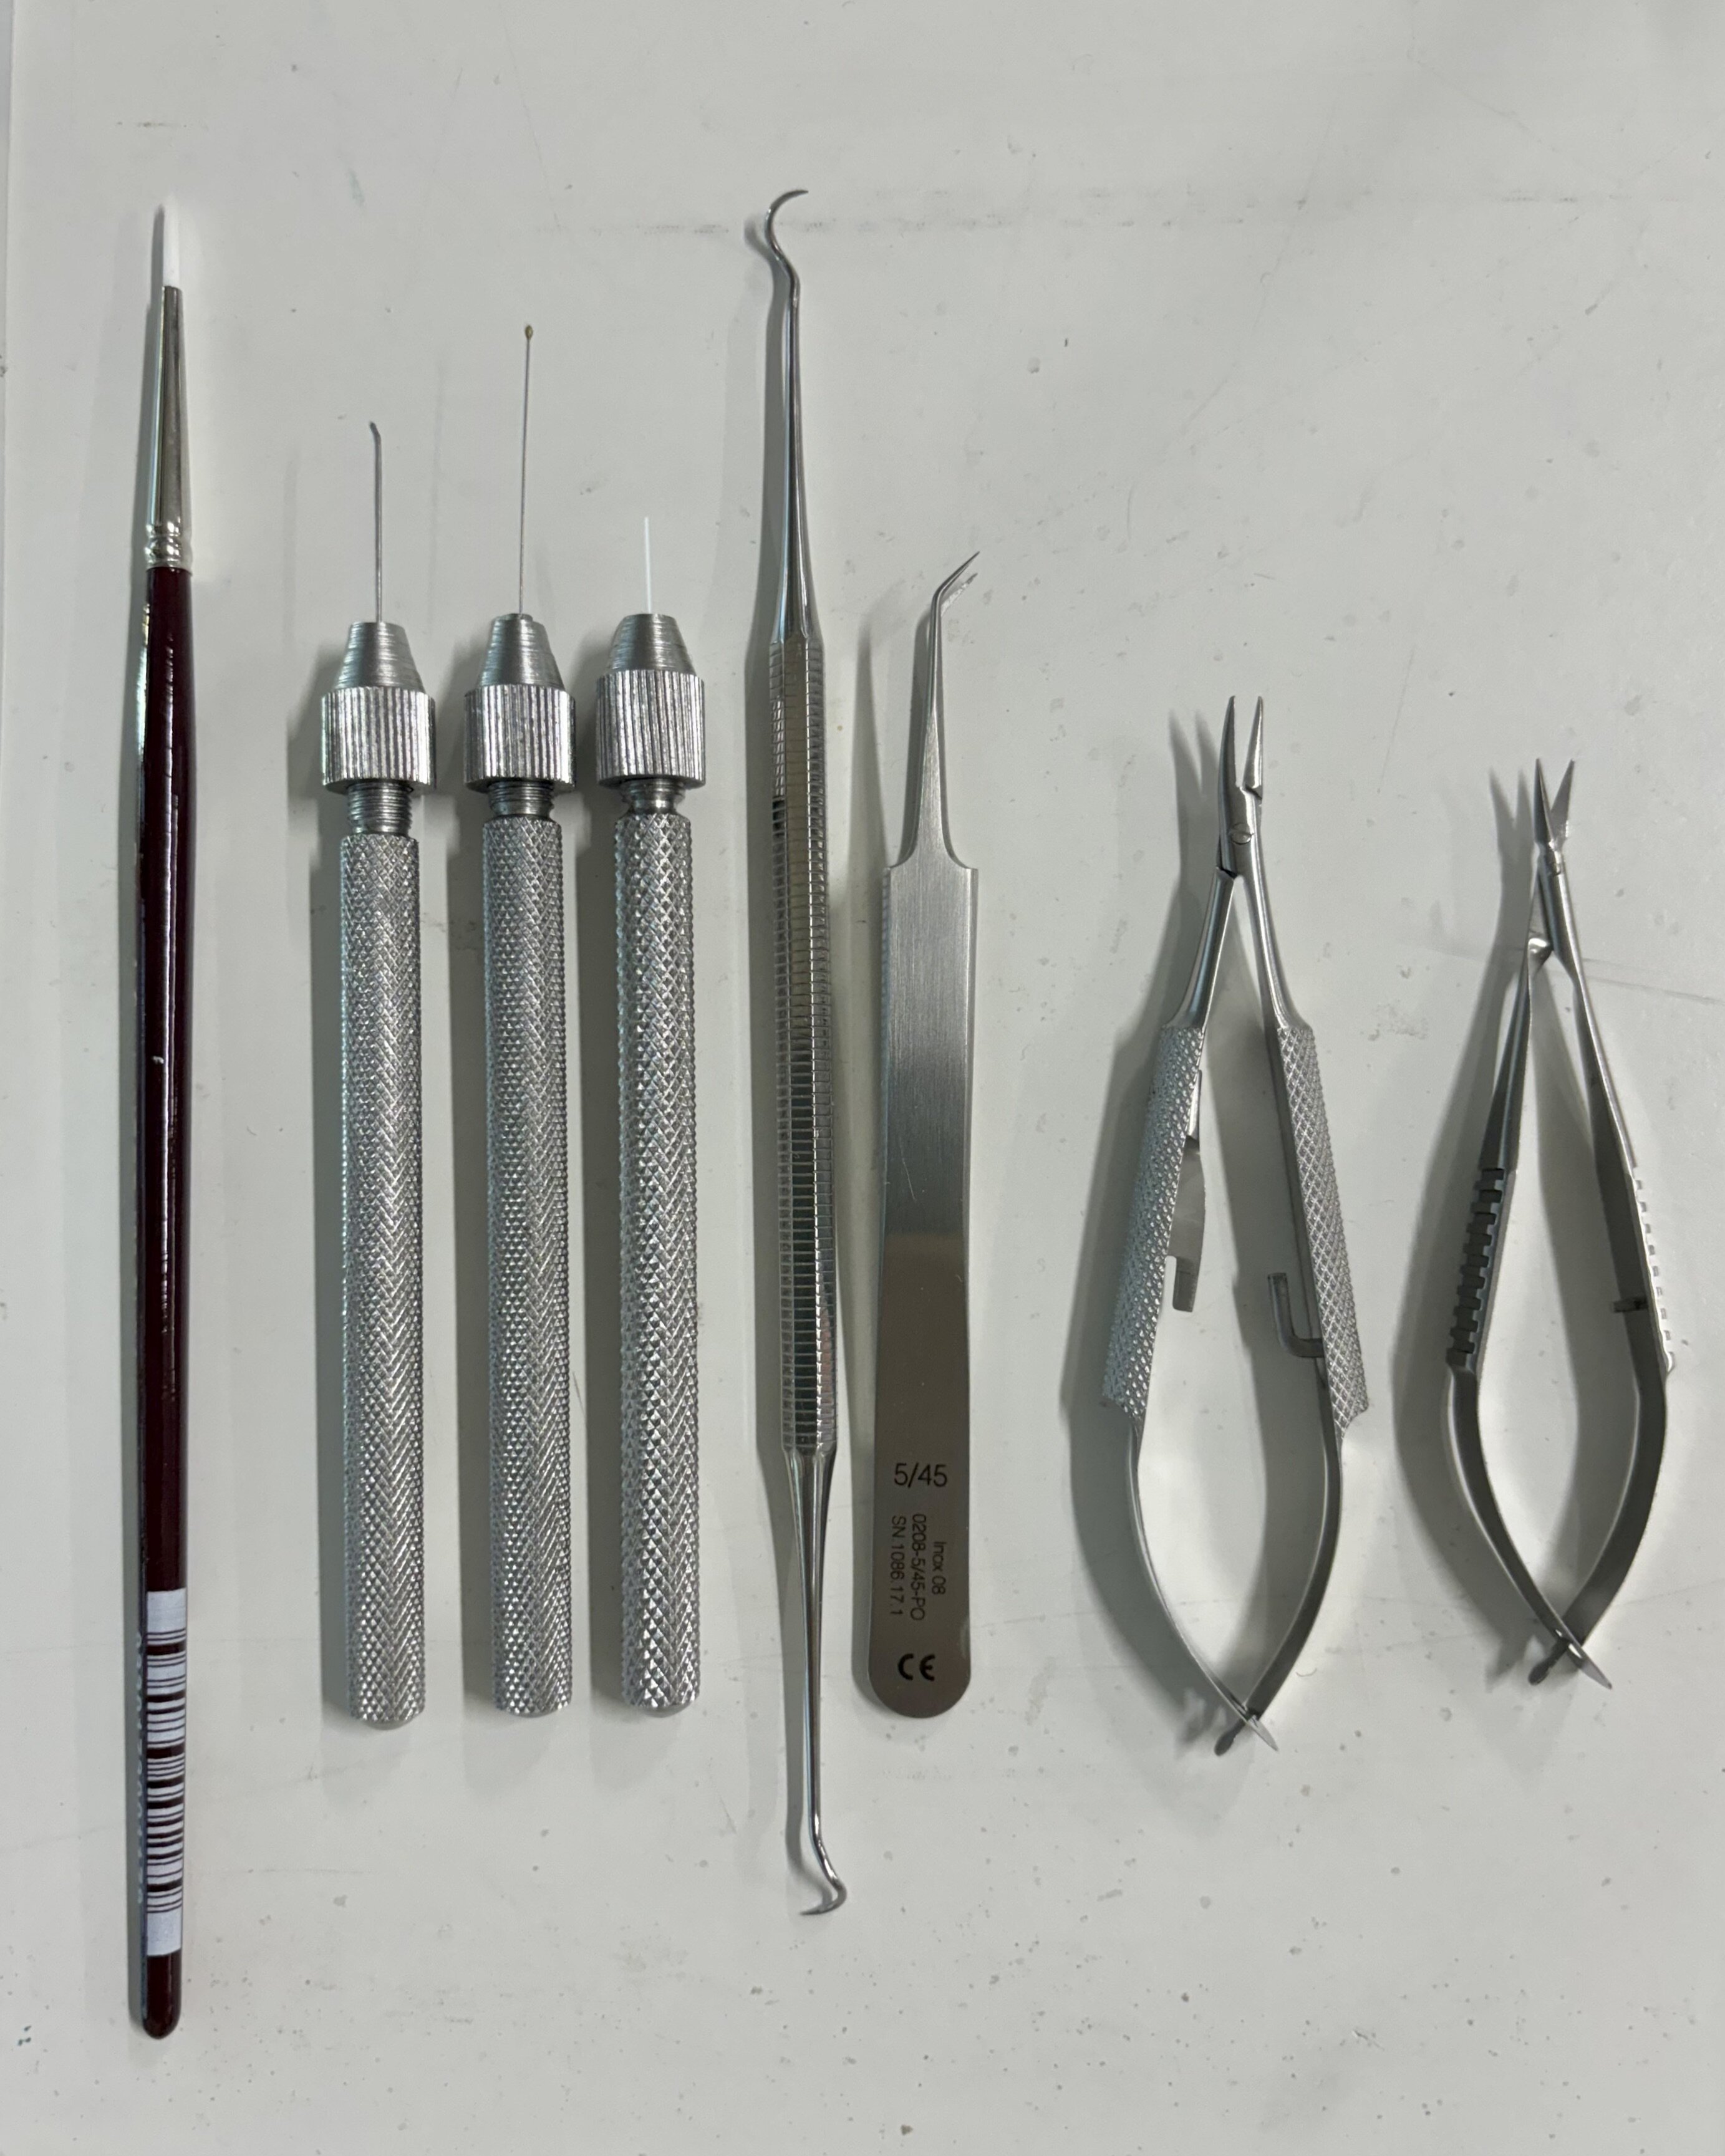
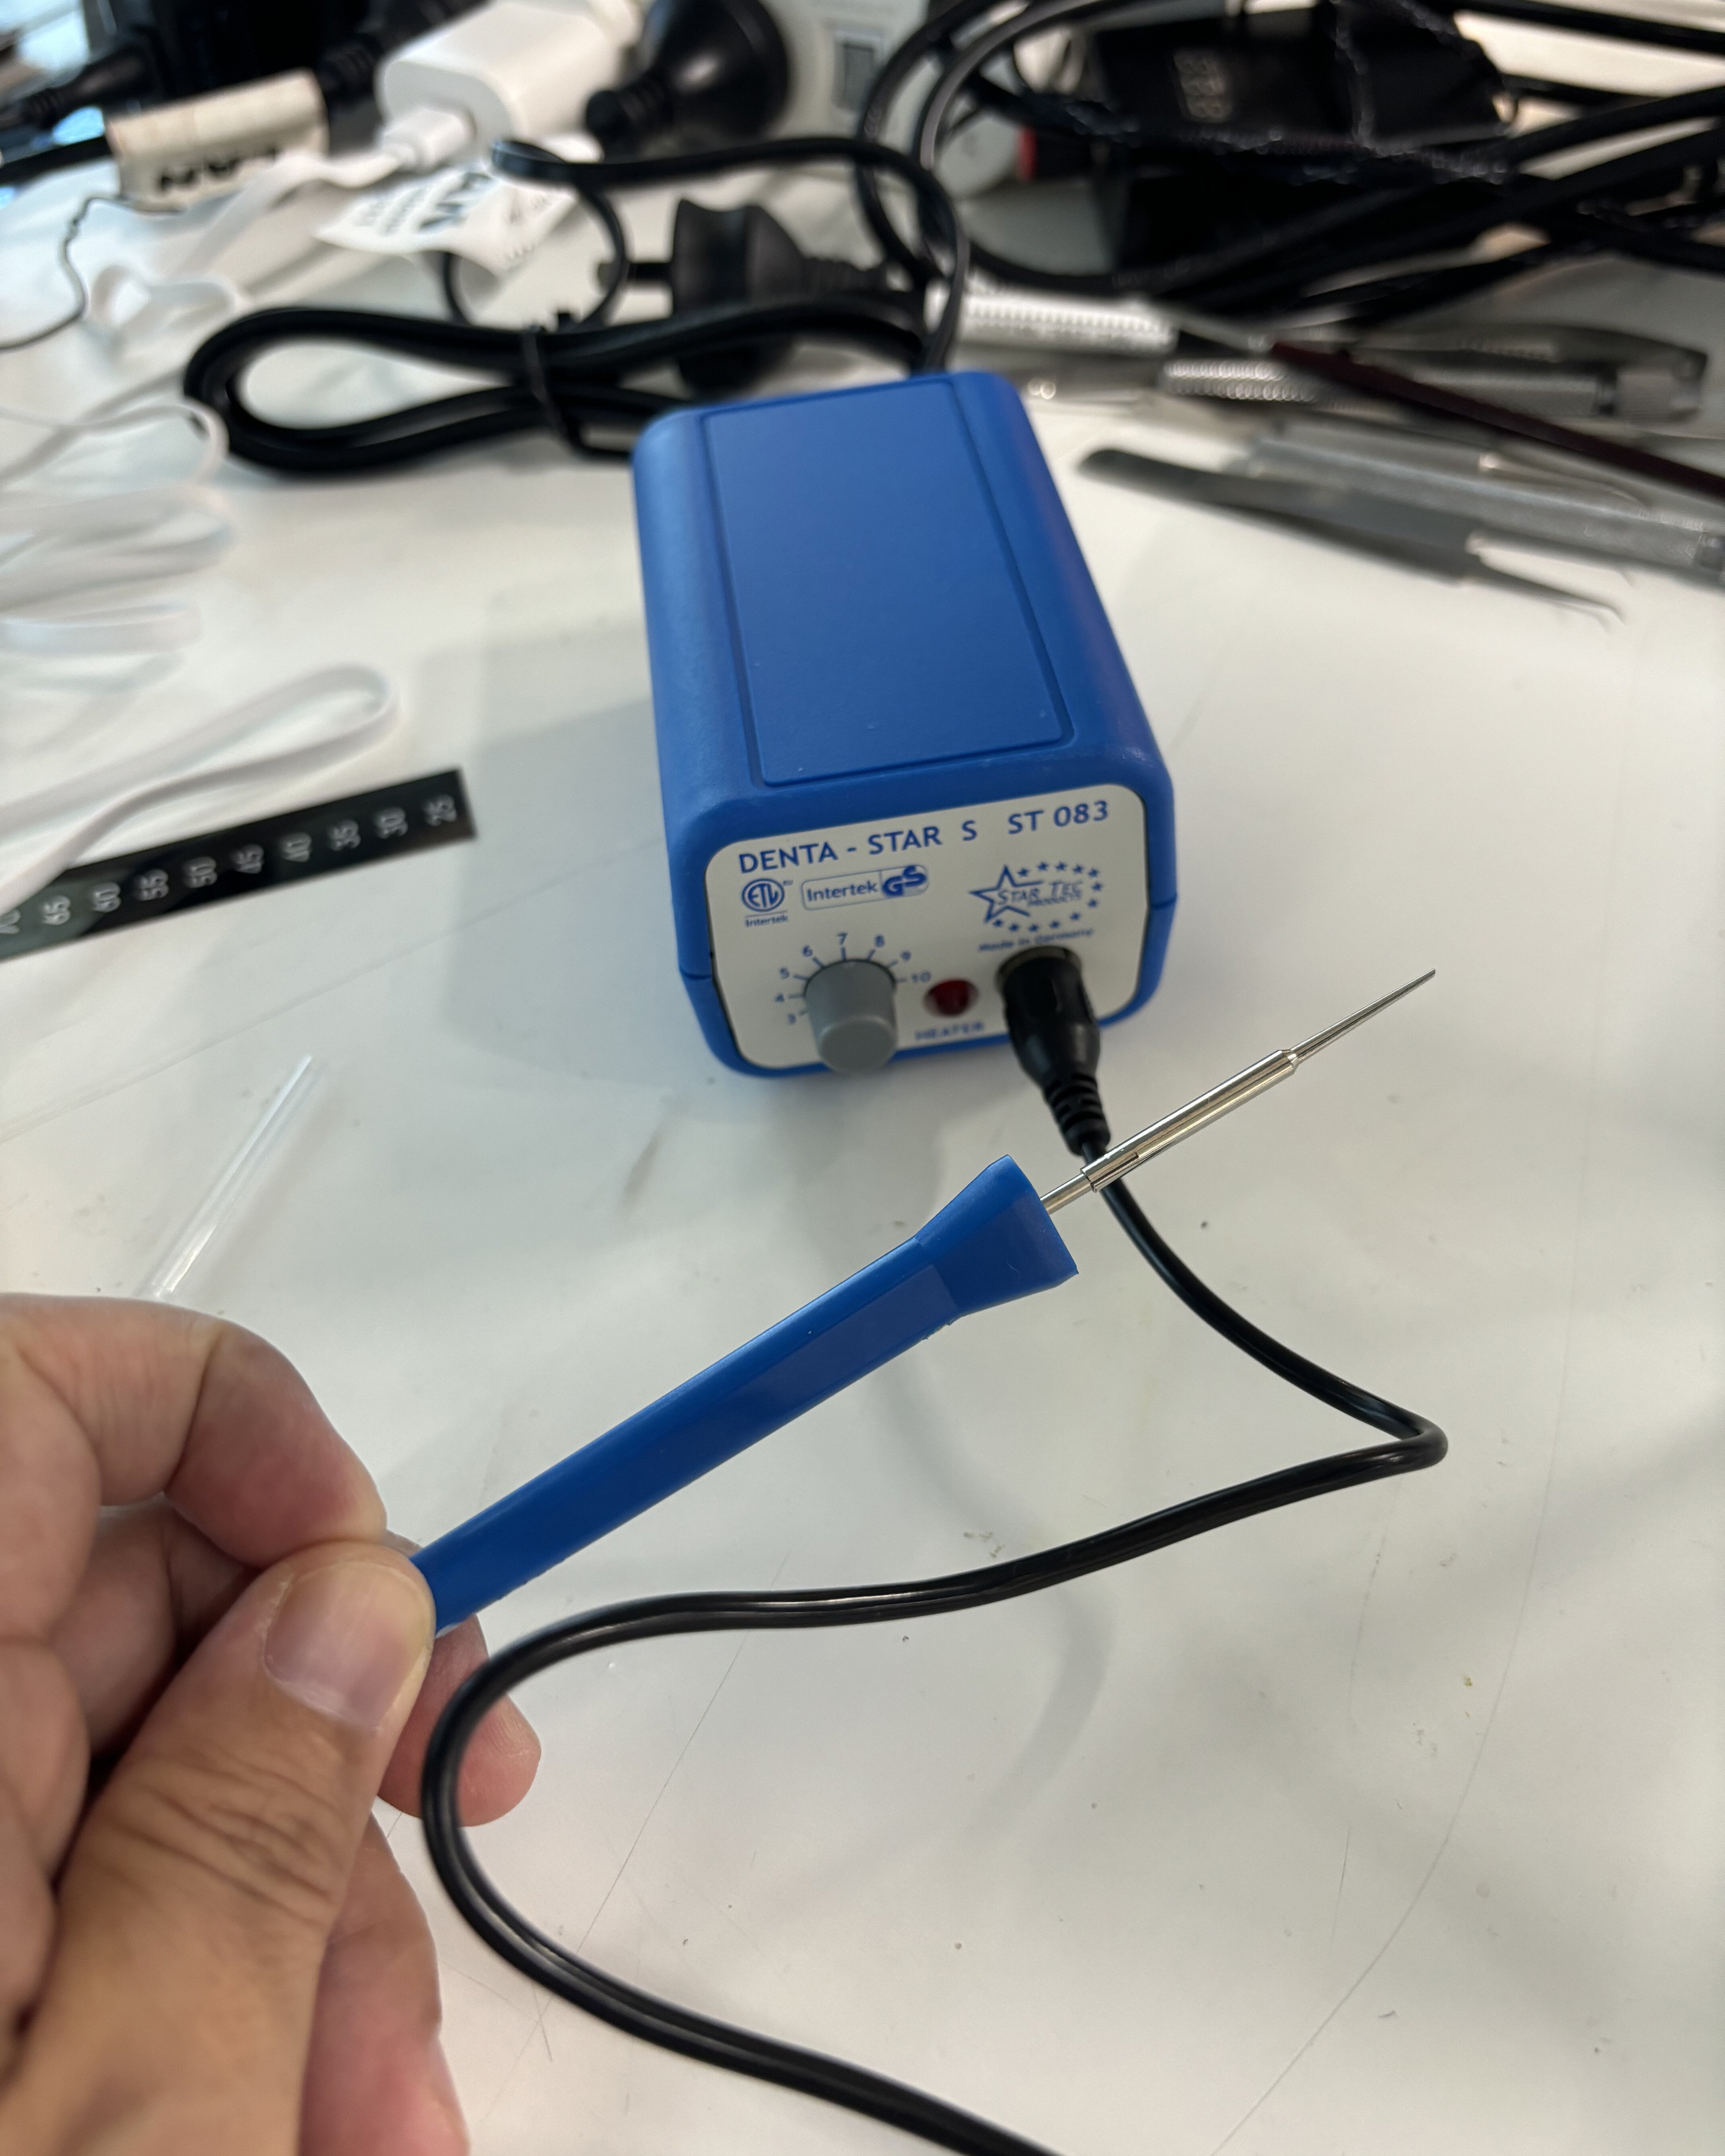
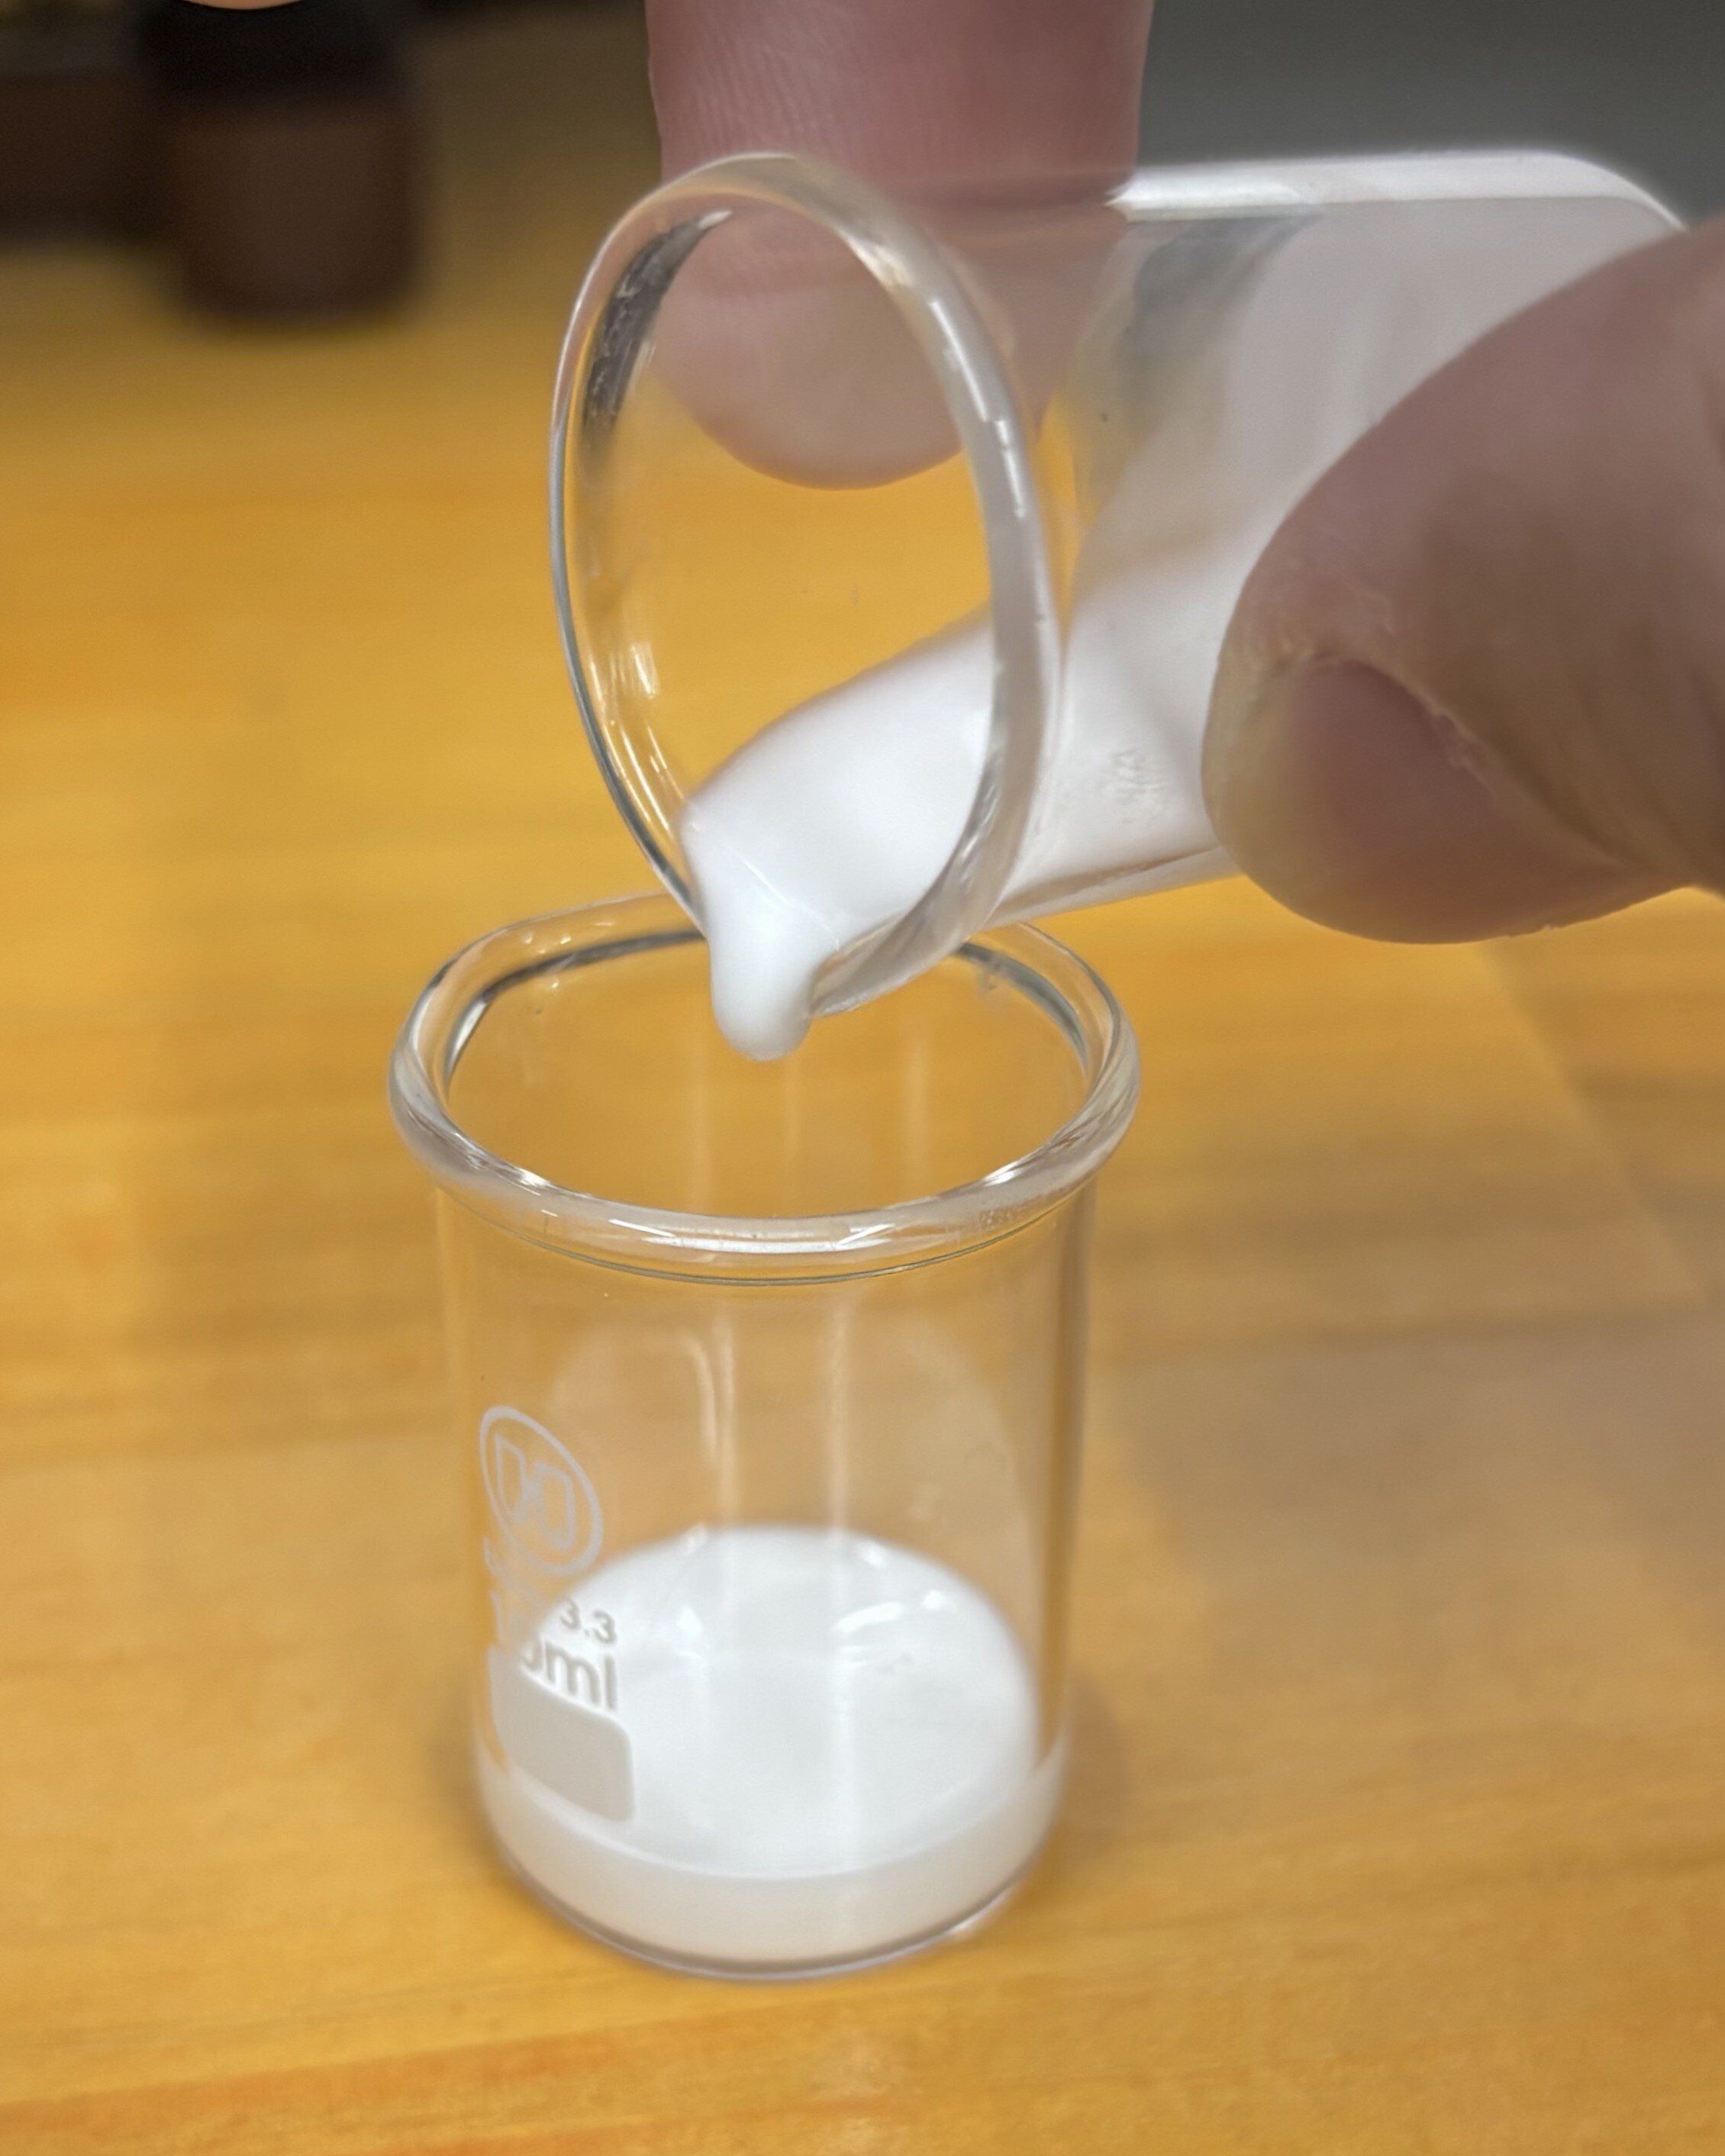
Next, I proceeded with the single thread bonding work. Because this technique requires precise control over the thread ends and the amount of adhesive used, the work was carried out under a stereomicroscope (Fig. 8). I used exceptionally fine and delicate tools, including tweezers, probes, needles, scissors, and a hot needle, all smaller than those typically used for conservation work (Fig. 9-1, 9-2). To bond the broken threads, I used an adhesive blend developed based on extensive experimentation and verification by German researchers. The adhesive consisted of a 9 : 1 mixture of Lineco (ethylene vinyl acetate [EVA]) and Methocel A4C 5% (methylcellulose 400) (Fig. 10). This formulation was selected for its optimal viscosity and drying speed, while also adhering to conservation principles of reversibility and stability. It provided the necessary strength and flexibility to restore the physical properties of the fabric.
Fig. 8. Performing single thread bonding under a stereomicroscope
To fill in the remaining gaps, I extended the broken weft threads by attaching new thread segments, each approximately 3 mm long, using single thread bonding. Over the course of three days, I carefully adhered the threads one by one, reconstructing the original weave as closely as possible and sealing the entire 5 cm tear (Fig. 11-1, 11-2). To ensure that the newly added threads blended seamlessly, I tinted them with watercolor (Fig. 11-3). In the areas where paint had flaked off, I applied traditional filling and inpainting techniques to restore the painting’s visual integrity (Fig. 12-1, 12-3).

From left: Fig. 11-1. Repair using single thread bonding (magnified), Fig. 11-2. After single thread bonding, Fig. 11-3. After coloring added threads
This repair achieved sufficient strength for subsequent conservation work while offering significant advantages over bridge patching. The amount of added thread and adhesive was drastically reduced, minimizing interference with the natural movement of the fabric. From an aesthetic perspective, the repair was far less noticeable when viewed from the back of the canvas.
Single thread bonding may seem to present hurdles to adoption due to the specialized knowledge required, high labor costs, and tool preparation. However, in Europe and North America, various refinements have been made to facilitate its practical application, ensuring that it does not remain a theoretical ideal. This was my first experience repairing a tear using single thread bonding, and I found it to be more effective than conventional methods. I believe it is a viable technique that can be successfully implemented in conservation settings. Moving forward, I hope to contribute, even in a small way, to making this technique a practical option in Japan.
Haze Hiroshi
Painting Conservator
Representative, Haze Painting Studio


